bajarob
Active Member
ive only got 3 petrol rc cars at the mo trebor but im guna do a full orange alloy baja ova xmas 4 sumfin 2 do so look out 4 ur new pics:w00t:


Follow along with the video below to see how to install our site as a web app on your home screen.
Note: This feature may not be available in some browsers.

")


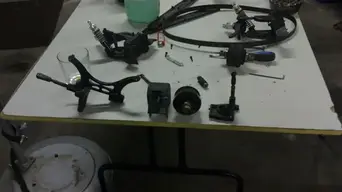
crikey sperera, it's taken me ages to read all that thread, that's some story update you've compiled, nice one!! was tempted with the baja around a year ago, but with one thing and another, running the club n what not, i decided to convert the MB n eventually buy a baja5b as the 2WD (which i'm still waiting for from Mr Posty). since though, i've seen how many redundant parts i've got sat in the spares box after doing this 4WD conversion - there's loads!! so i'm gonna build an FG Beetle from them, just missing a carb...
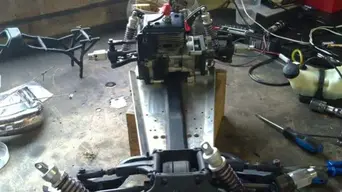
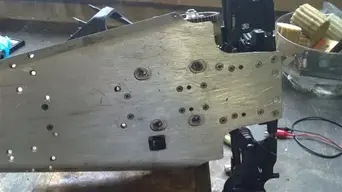
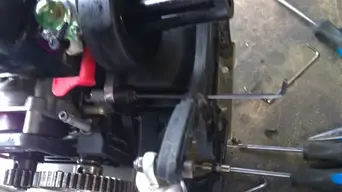
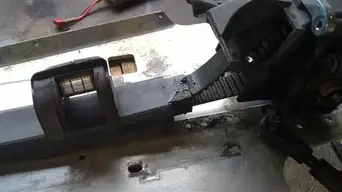
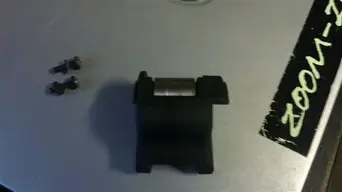
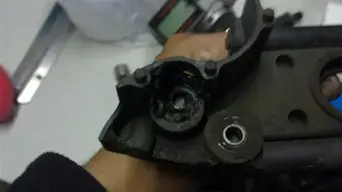
few things i noted from your thread, you mentioned the layshaft gearing mesh, i've only ran mine for around 40mins so far, and we all know if you get the angle of the engine of out line from the diff it'll induce rapid wear on the teeth, i think (hopefully) mines bang in line at the mo, nothings moved or come loose as yet so i'm happy. i'm just miffed off that the conversion kit doesn't allow you to see the mesh of the 2 gears due to that annoying little cover, wish they could've made it transparent instead
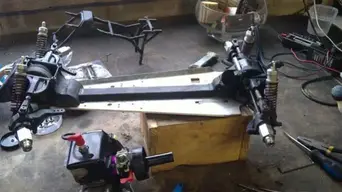
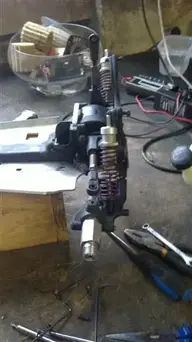
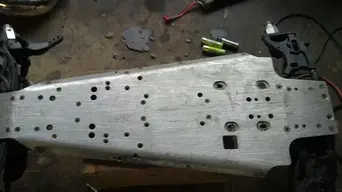
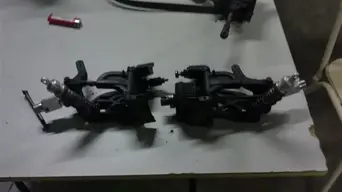
another issue you mentioned was the suspension travel on FG's - it sucks!! that's something i've always wished was better. looking at it the problem seems to lie in the chassis, when the wishbones are fully down and shocks fully extended, the underside of the wishbones make contact with the chassis just nearby where they're bolted on. i was debating to file away the chassis a little in order to gain more travel, but havn't had the courage yet as there ain' much meat there, only a few mill' between the edge of the chassis and where the wishbone mounting holes go through.
anyway, crackin write up matey, keep ya 4WD baja news/developments coming
t2boats. I was thinking about the chassis same way. when I first started running an xray xb8, we used to file the chassis down to get more travel and they actually released the next version with the chassis mods


Register and gain access to Discussions, Reviews, Tech Tips, How to Articles, and much more - on the largest Large Scale RC community for RC enthusiasts that covers all aspects of the Large Scale RC!
Register Today It's free! This box will disappear once registered!