- Messages
- 7,733
- Location
- Minnesota
How-To Upgrade Your Manifold
Here is a quick tip on replacing your engines manifold/insulator. I will be using the word manifold in this how-to.
It’s quite easy and a beginner can do it. This is shown on a Baja, some items will not be included in your model, but this is the same on any model with a CY, Zenoah type engine.
The upgraded unit in this How-To is the ADA RC Manifold purchased from DDM part number AV540. These items can be purchased in many colors. I would recommend if you are adding this to your Baja model that you also add the PhatDad Inclined Shred Stack at the same time. This will also give you the gasket talked about at the end of the how-to for between the filter and carb. The stack How-To can be found in this section also.
You will first need to remove your filter system.
This is done on the Baja by removing the holder by pushing it in and down. I used pliers in the photo.
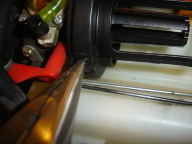
Next pull the center out. It is only held in place by the o-ring.
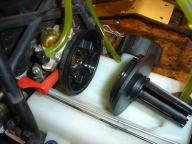
Now remove the filter base by removing the two screws or allen bolts that hold it to the manifold. This will also let the carb come loose from the manifold so hold the carb from falling.
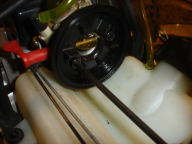
Next remove the throttle rod from the carb by pushing the holder down the rod. This may be easier to do on other models before the removal is done.
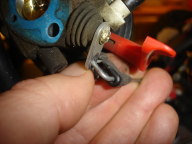
After removal inspect your gaskets. This will tell you if the engine has had a gasket leak.
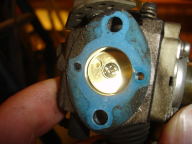
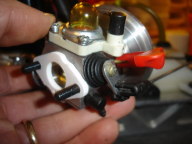
Clean off the carb completely with some carb cleaner and an old tooth brush. You can now inspect your carb for any defects or damage. Take care in inspecting the carb choke. It will be a bit loose but make sure it’s not too loose.
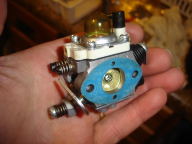
CLICK ON PHOTO FOR VIDEO:
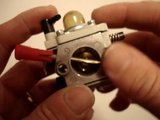
Plug the manifold with something clean and clean the area around the insulator so not to get any debris in the intake port when removing the manifold.
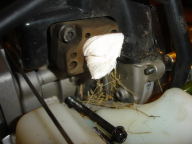
Remove the manifold by removing the two allen screws that hold it onto the intake port.
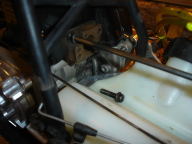
Again inspect the two sides of the gasket for leakage.
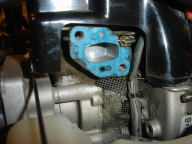
This is a great time to look into your engine to see if there is any visual damage to the intake area. I recommend making sure you clean out the port before your inspection and reinstallation. I use Q tips.
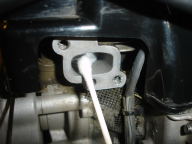
Take your manifold out and match up the new gaskets. Make sure the small holes are matched with the gaskets. Both front and back.
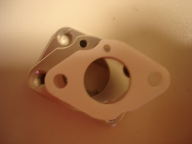
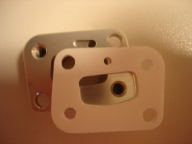
Now before install make sure you match the manifold with the holes on the intake. The small hole needs to be open both in the gasket and the manifold.
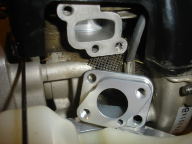
Lock tight your screws and install your new manifold.
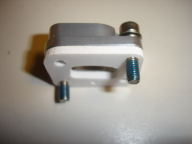
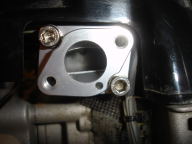
Make sure you tighten your manifold to the correct torque specs that can be found here.
https://www.largescaleforums.com/showpost.php?p=9272&postcount=2
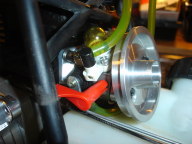
Next you reinstall the carb in the opposite order. You may need to add a new gasket between the filter set up and the carb if the old one is worn or damaged. I would recommend buying a new one no matter what just in case.
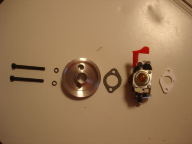
Don’t forget the lock tight on the screws.
Here is a quick tip on replacing your engines manifold/insulator. I will be using the word manifold in this how-to.
It’s quite easy and a beginner can do it. This is shown on a Baja, some items will not be included in your model, but this is the same on any model with a CY, Zenoah type engine.
The upgraded unit in this How-To is the ADA RC Manifold purchased from DDM part number AV540. These items can be purchased in many colors. I would recommend if you are adding this to your Baja model that you also add the PhatDad Inclined Shred Stack at the same time. This will also give you the gasket talked about at the end of the how-to for between the filter and carb. The stack How-To can be found in this section also.
You will first need to remove your filter system.
This is done on the Baja by removing the holder by pushing it in and down. I used pliers in the photo.

Next pull the center out. It is only held in place by the o-ring.

Now remove the filter base by removing the two screws or allen bolts that hold it to the manifold. This will also let the carb come loose from the manifold so hold the carb from falling.

Next remove the throttle rod from the carb by pushing the holder down the rod. This may be easier to do on other models before the removal is done.

After removal inspect your gaskets. This will tell you if the engine has had a gasket leak.

Clean off the carb completely with some carb cleaner and an old tooth brush. You can now inspect your carb for any defects or damage. Take care in inspecting the carb choke. It will be a bit loose but make sure it’s not too loose.

CLICK ON PHOTO FOR VIDEO:

Plug the manifold with something clean and clean the area around the insulator so not to get any debris in the intake port when removing the manifold.

Remove the manifold by removing the two allen screws that hold it onto the intake port.

Again inspect the two sides of the gasket for leakage.

This is a great time to look into your engine to see if there is any visual damage to the intake area. I recommend making sure you clean out the port before your inspection and reinstallation. I use Q tips.

Take your manifold out and match up the new gaskets. Make sure the small holes are matched with the gaskets. Both front and back.


Now before install make sure you match the manifold with the holes on the intake. The small hole needs to be open both in the gasket and the manifold.

Lock tight your screws and install your new manifold.


Make sure you tighten your manifold to the correct torque specs that can be found here.
https://www.largescaleforums.com/showpost.php?p=9272&postcount=2
Next you reinstall the carb in the opposite order. You may need to add a new gasket between the filter set up and the carb if the old one is worn or damaged. I would recommend buying a new one no matter what just in case.

Don’t forget the lock tight on the screws.


Last edited:

