John Parks
Print my own
- Messages
- 4,006
Awesome job bud, I need a mill as you make me want one lol


Follow along with the video below to see how to install our site as a web app on your home screen.
Note: This feature may not be available in some browsers.
thanks johnAwesome job bud, I need a mill as you make me want one lol
") ,
,thanks john
yeh a mill and/or lathe is great for this hobby,
mine are just small hobby size, i'd like larger ones but the cost can get a bit over the top once toolings figured in as well,
I'd love a small mill and lath, but don't have room for even table top models currently. Have access to both but it's a bit of a haul and have to have projects finished before I leave... am a bit envious of you.. I'll let you know when property comes for sale near by, that way you can move over here lol.thanks john
yeh a mill and/or lathe is great for this hobby,
mine are just small hobby size, i'd like larger ones but the cost can get a bit over the top once toolings figured in as well,
lmao, missed this post, i would honestly love to live in the states seanI'd love a small mill and lath, but don't have room for even table top models currently. Have access to both but it's a bit of a haul and have to have projects finished before I leave... am a bit envious of you.. I'll let you know when property comes for sale near by, that way you can move over here lol.
,, ,
,


thanks for that sean, means a lot mateyLove the work you do spents, first class.
 ,
, ,,,
,,, ,,
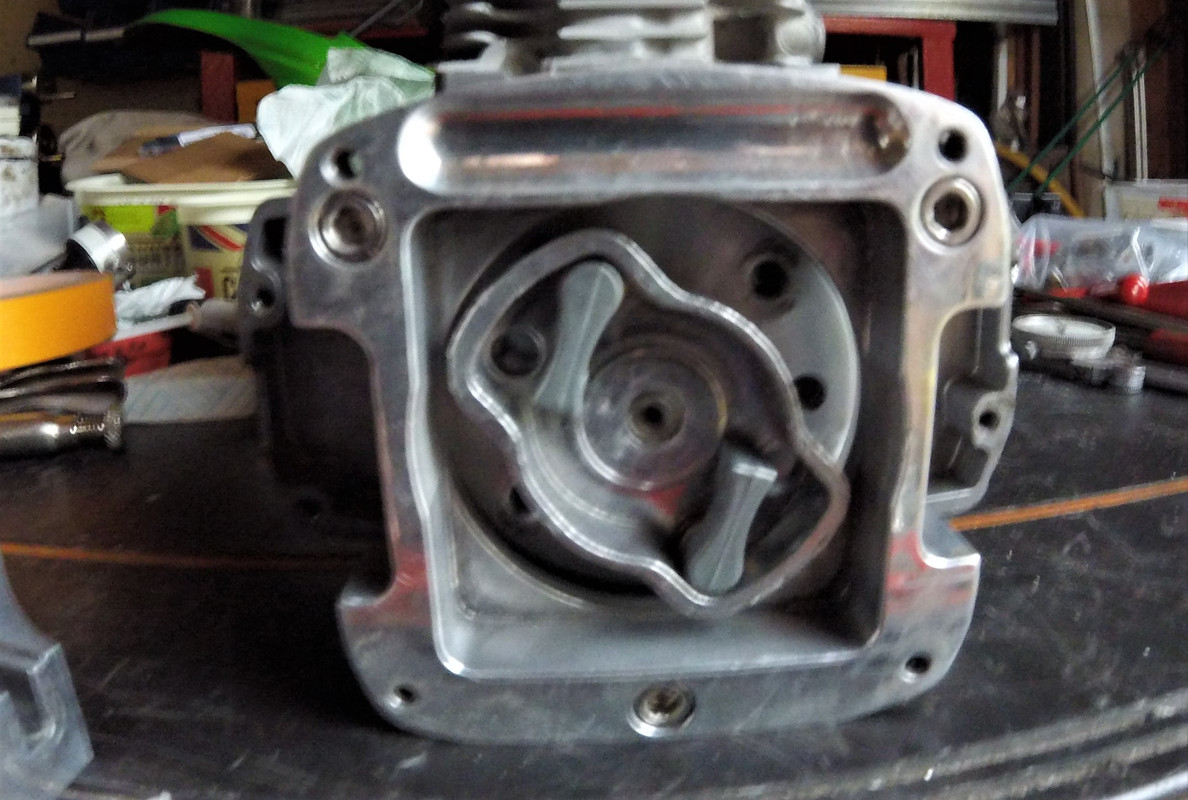
,, , removed the idle screw bracket and return spring from the clutch end carb and popped the plate off the end ,
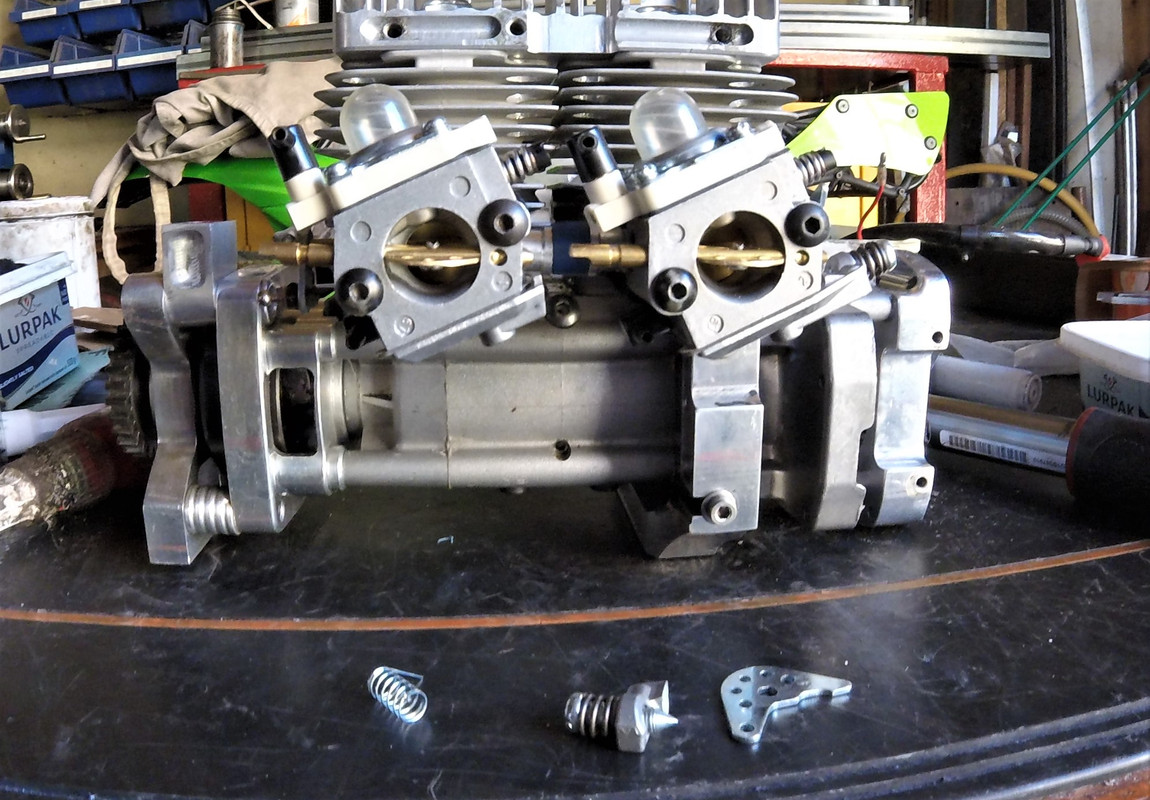


me either ryanI can hardly wait Paul
, i been a tad stuck getting time in the workshop lately as well, plus its hot as hell here at the moment ,
 ,
, ,
, ,,
,, ,
, ,
, ,.
,.

 ,
, ,
,
 ,,
,,
nah she was fine when she saw how welli fixed it up ryanPaul you should have been building yourself a dog house for when she returned
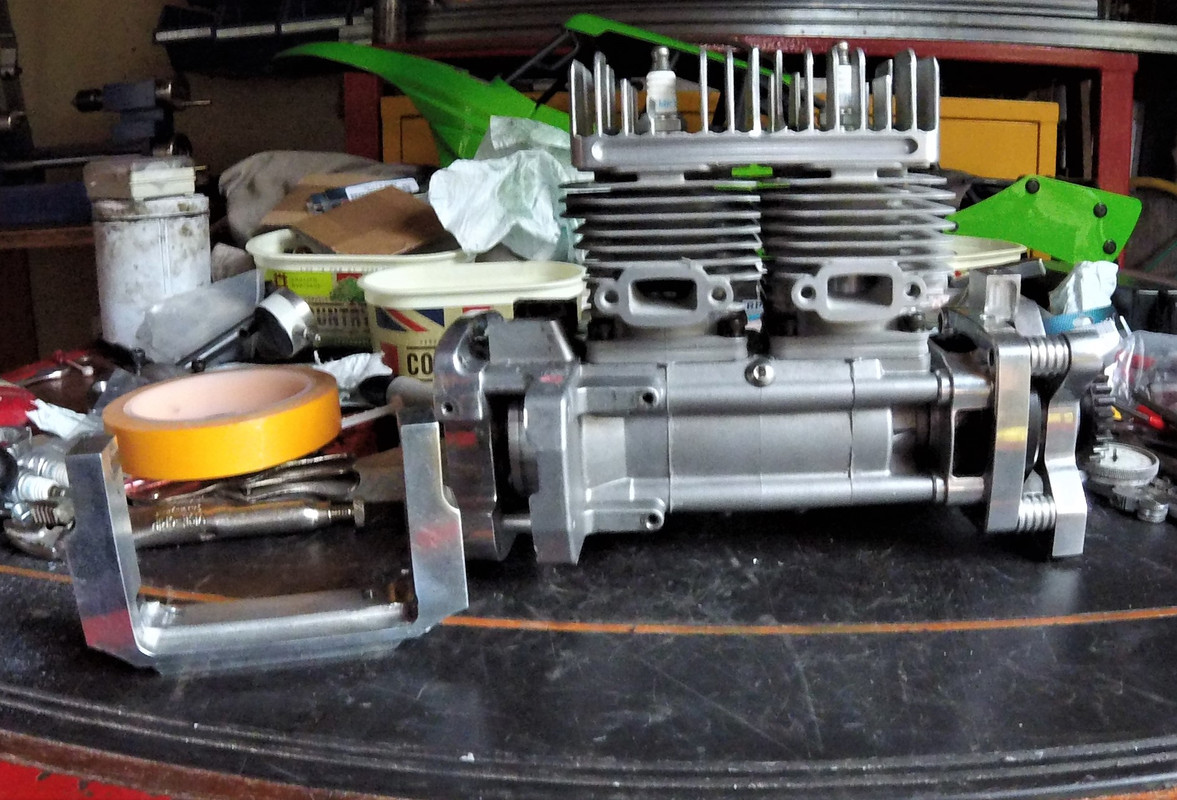
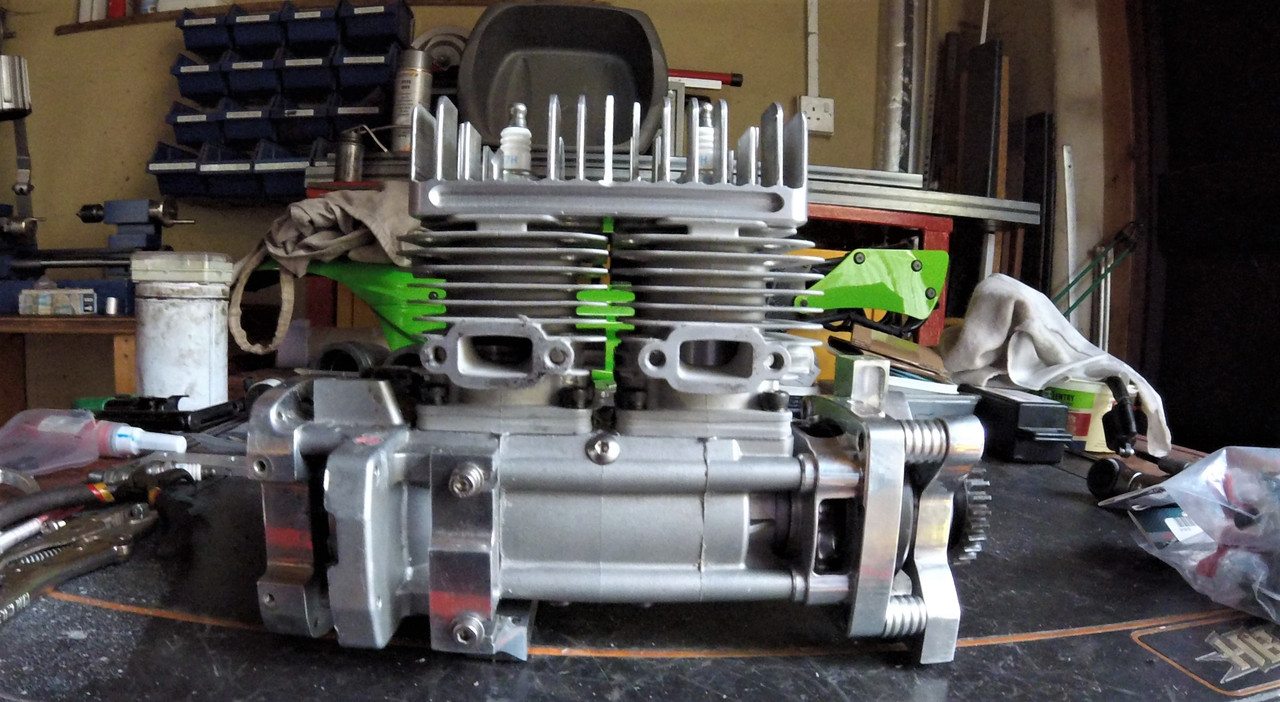
,Give one to mewell i have got a bit more done, but nothing that really needs any pics as of yet
so heres a pic of our hedgehog that has now escalated to two hedgehogs cos they worked out theres free food


Register and gain access to Discussions, Reviews, Tech Tips, How to Articles, and much more - on the largest Large Scale RC community for RC enthusiasts that covers all aspects of the Large Scale RC!
Register Today It's free! This box will disappear once registered!
We get it, advertisements are annoying!
Sure, ad-blocking software does a great job at blocking ads, but it also blocks useful features of our website. For the best site experience please disable your AdBlocker.