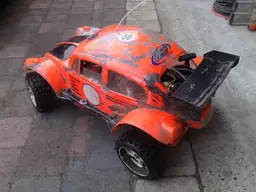
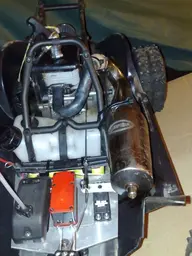
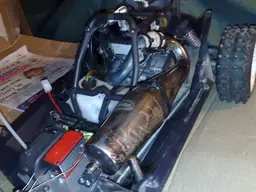
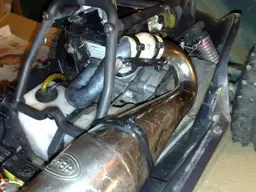
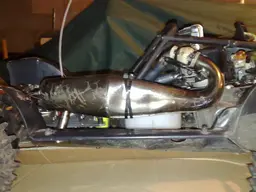
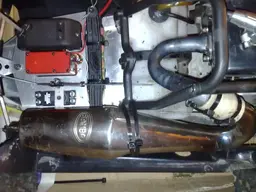
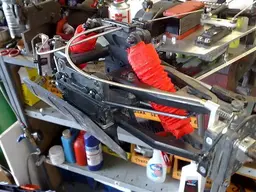
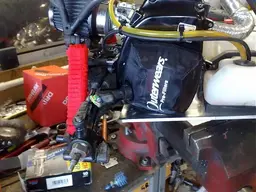
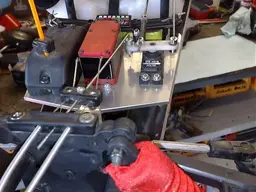
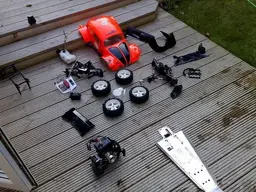
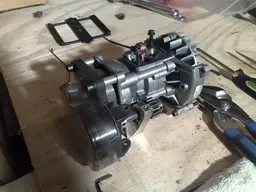
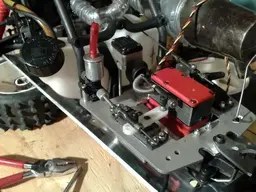
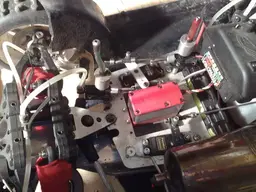
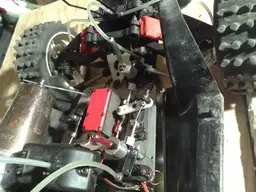
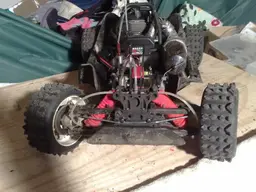
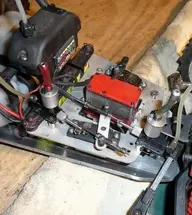
Here are a few pics of my latest mod.
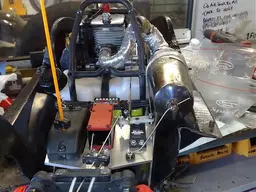
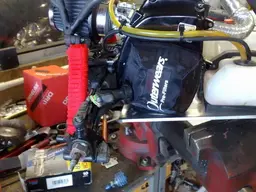
I believe the Samba pipe is originalt from a baja, but never being one to accept defeat out came the blow torch :2guns: and the header was modified to allow the pipe to sit inside the beetle body.
The main reason is that although wheelies are fun, too much weight at the back made it undrivable.
I believe the Samba pipe is originalt from a baja, but never being one to accept defeat out came the blow torch :2guns: and the header was modified to allow the pipe to sit inside the beetle body.
The main reason is that although wheelies are fun, too much weight at the back made it undrivable.
Attachments

Last edited:
")

")
 mg:
mg: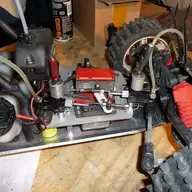


 h34r:
h34r: