
bRIBEGuy's MCD XR5-Max: Past, Present, & Future...

This site may earn a commission from merchant affiliate
links, including eBay, Amazon, and others.

bRIBEGuy

Well-Known Member
Messages
141
Reaction score
153
Location
Alberta
It seems like the MCD section has been a bit quite lately, so I figured I'd do my part to provide some reading material... ;)

I've had my MCD XR5-Max for a few years now, but aside from a few pictures here and there, I really haven't shared too much about it. With a bit of free time on my hands, and some upcoming work to do on the car, I figured this seems like a good time to put pen to paper (finger to keyboard?), and document a bit about the car to date, and where it's going in the future.

The car started as a supposed FT-R build, and honestly was a pretty big mess from the factory. Once the initial awe wore off and I started to go through and setup the car, I seemingly ran into issue after issue. Most of the car was assembled "loose", so almost every screw and bold required tightening (and threadlock where applicable). Not a big deal as "don't trust something you didn't build" was always sort of a personal mantra, but it was a bit of a surprise on a car of this level/cost.
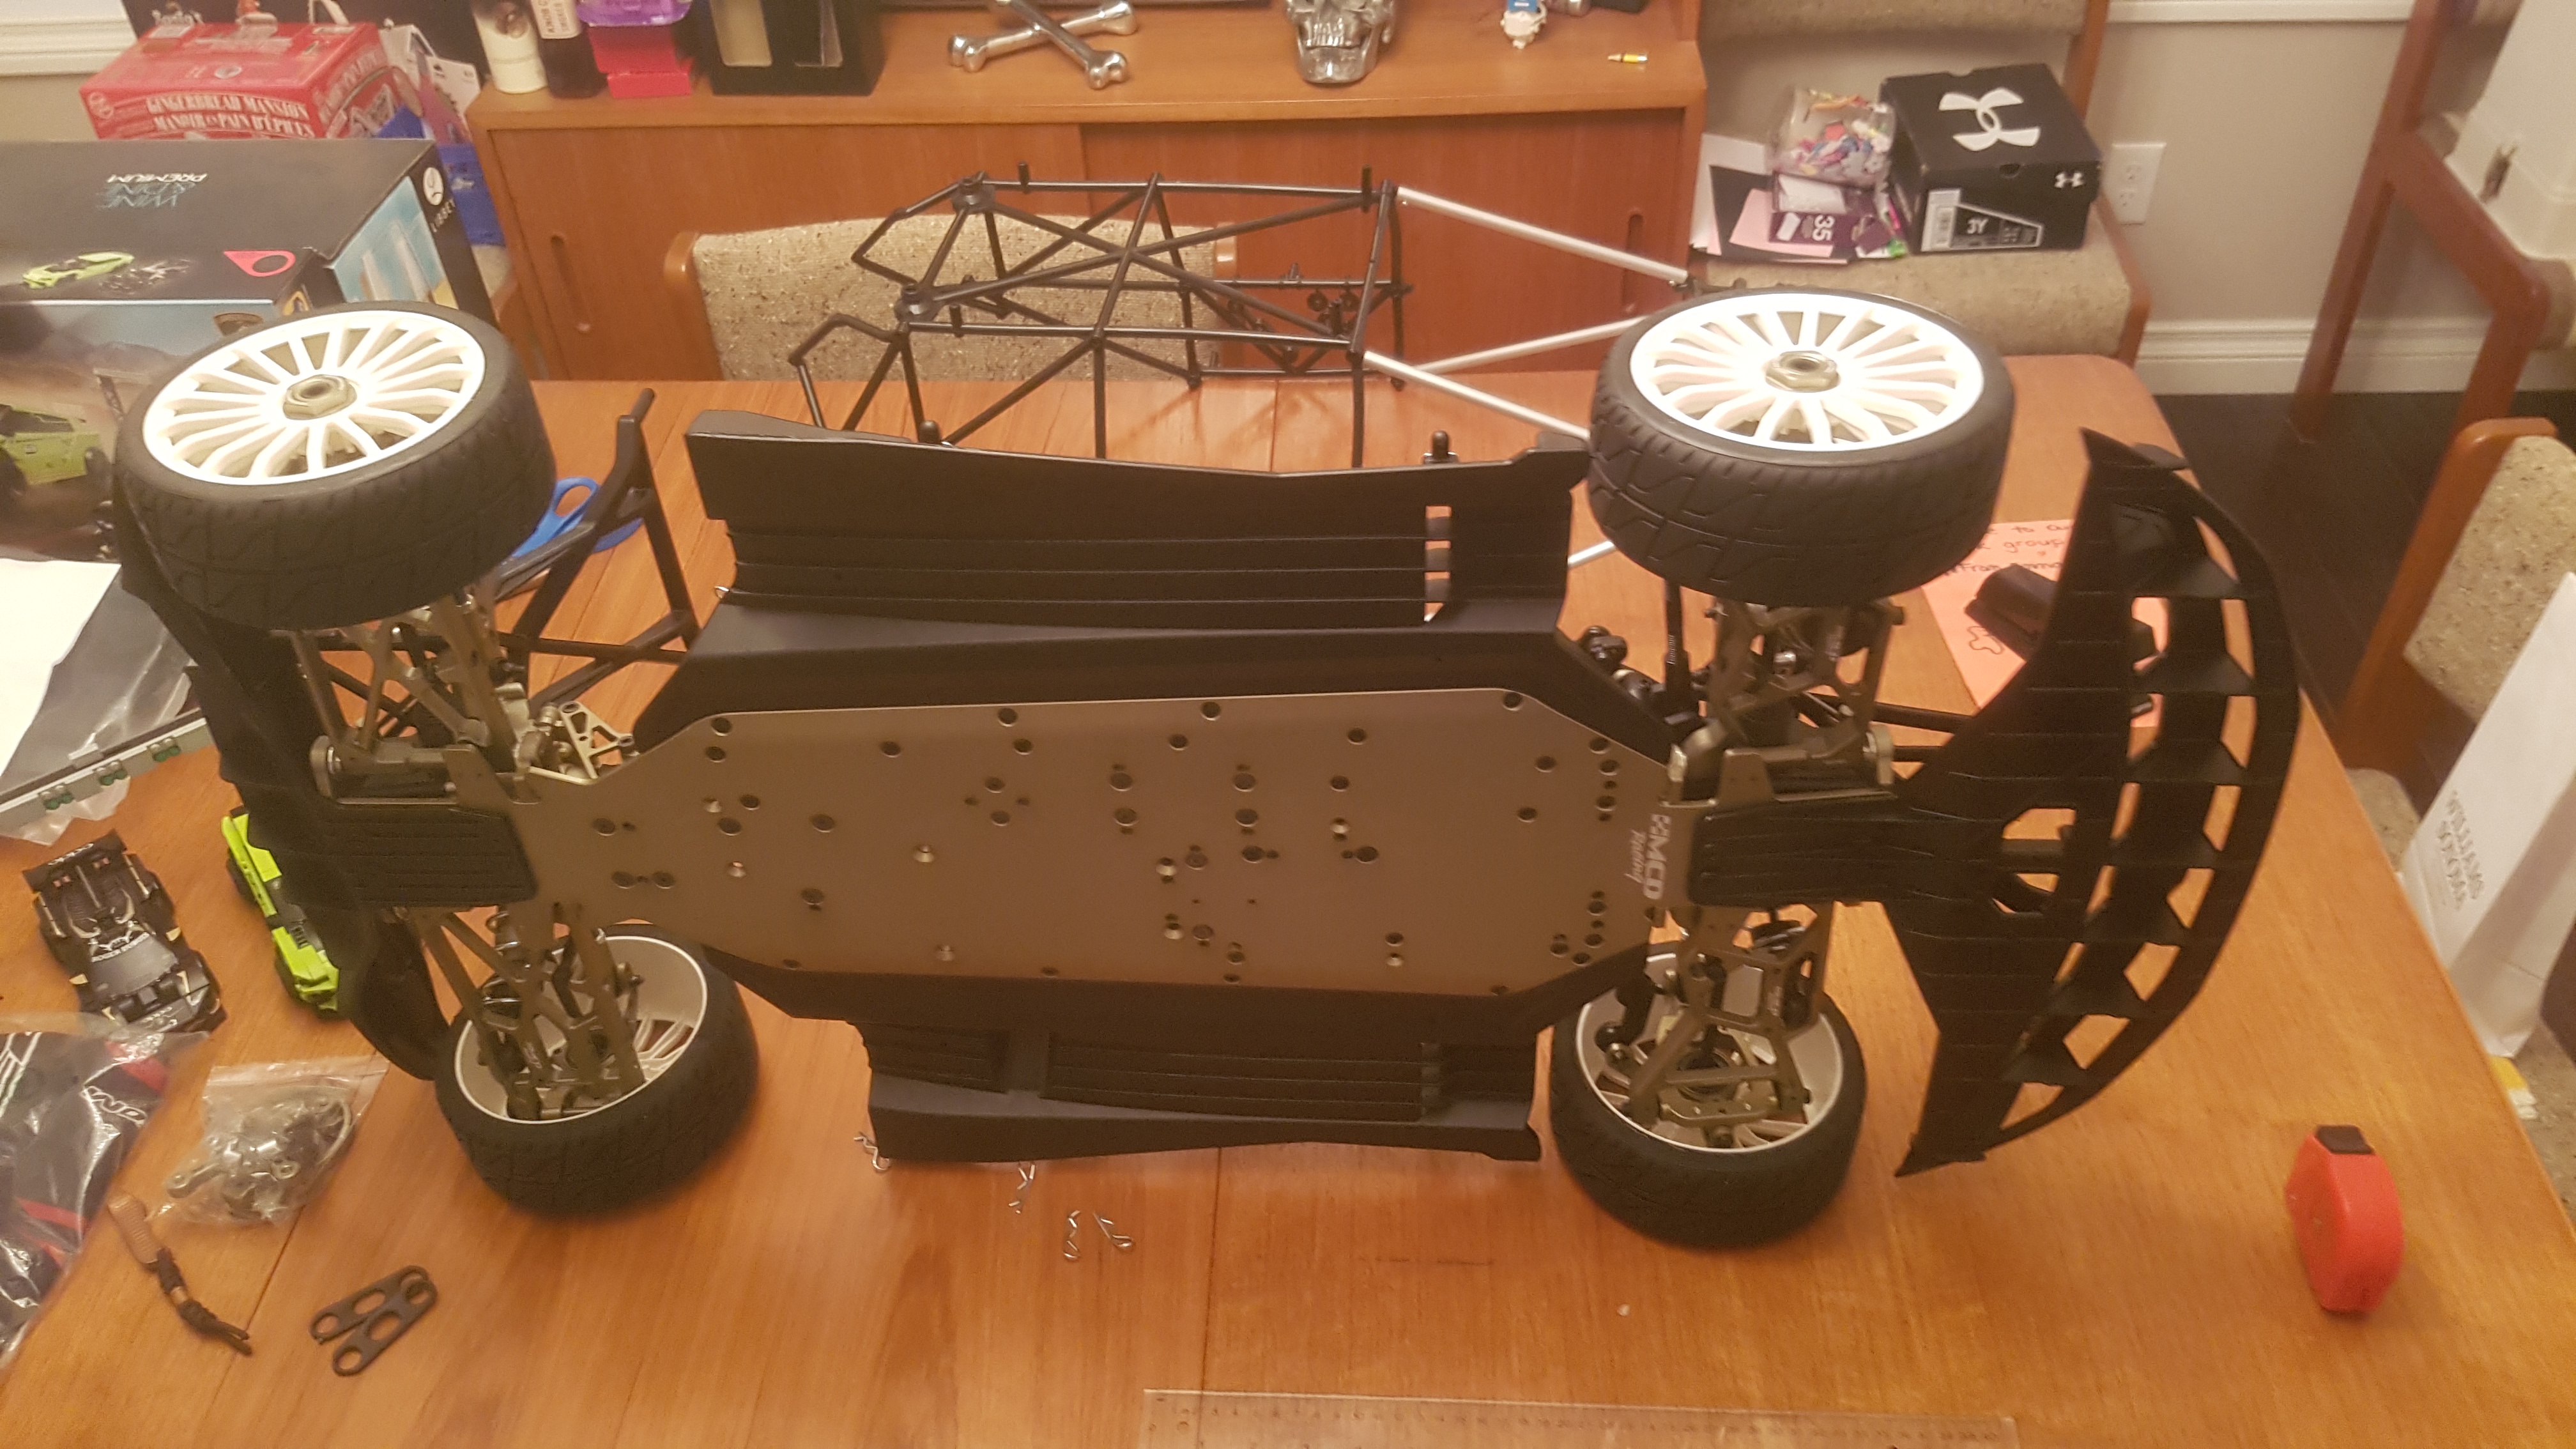
p5Hrkpd.jpeg


On top of this it was also soon made apparent that zero effort had been put into ensuring things like camber, caster, and toe were proper... or even even. I think the car came with something like 5 degrees of POSITIVE camber on the rear (it looked like an old VW bug!), and it has miss-matched anti-dive spacers from left to right. Not a great start...

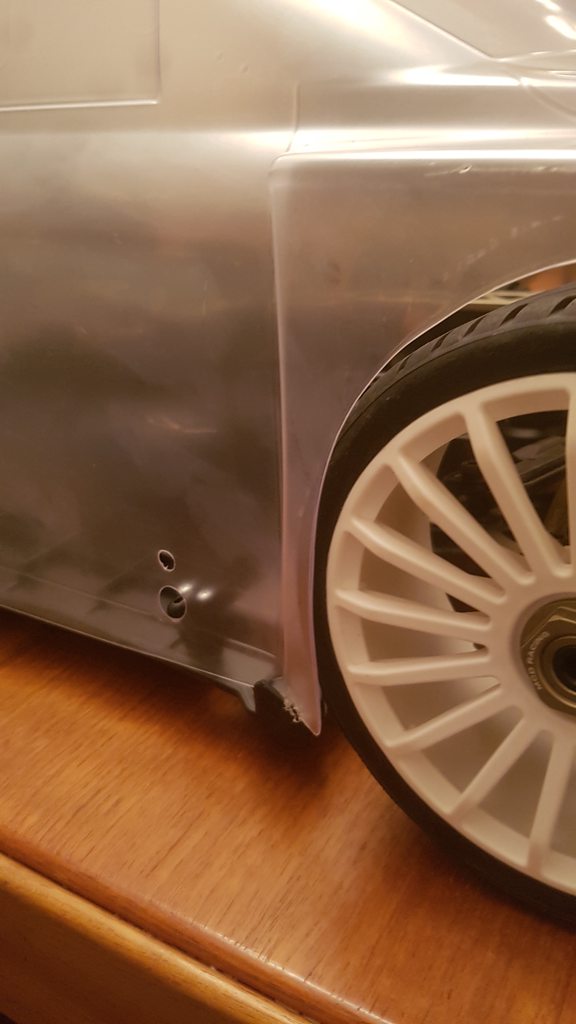
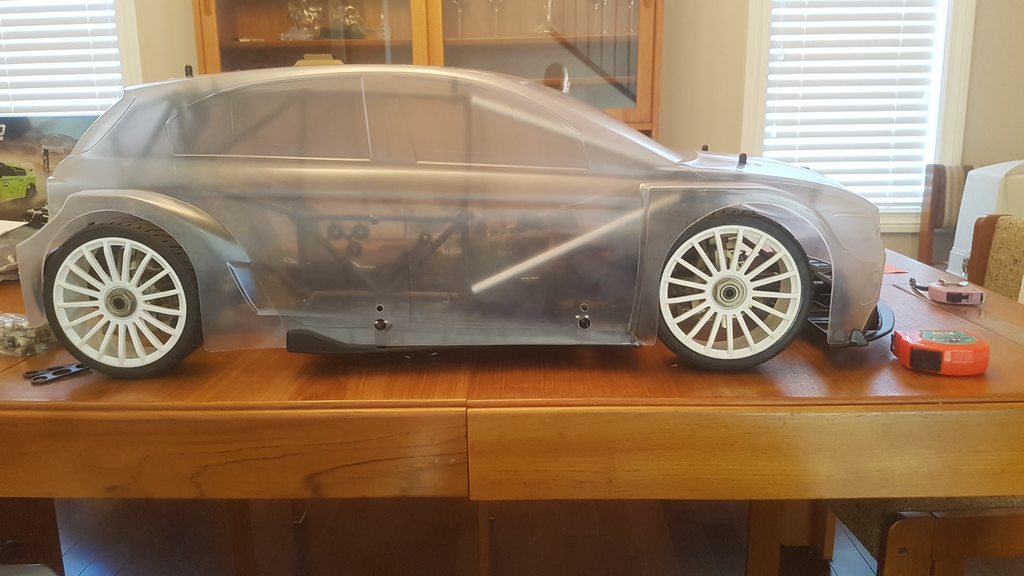
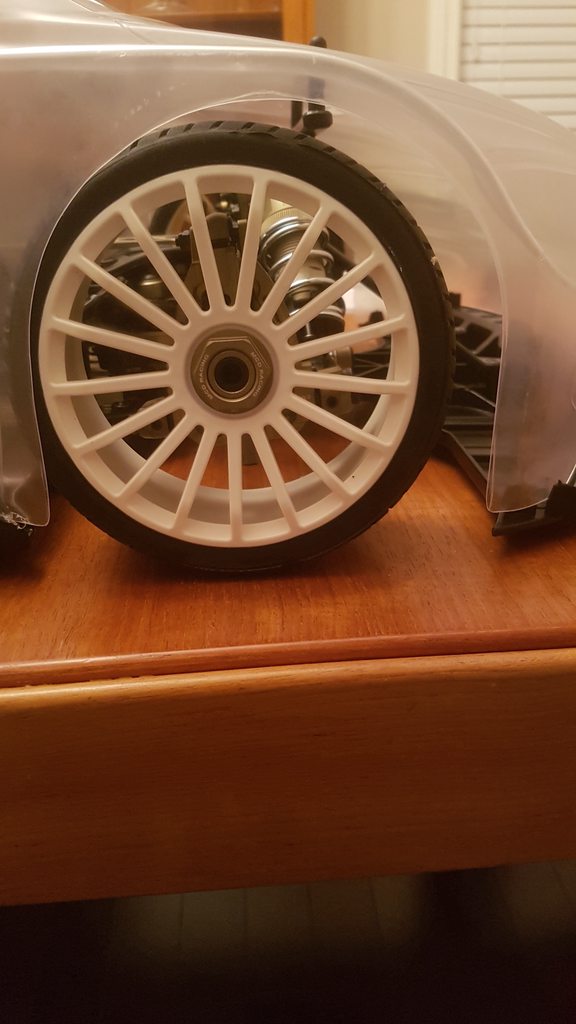
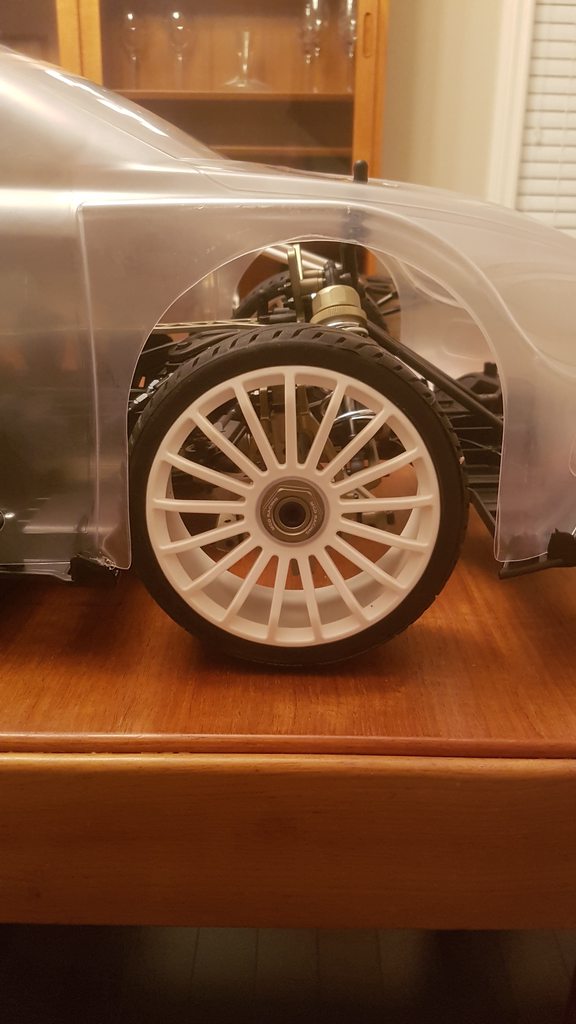
To make things worse, somewhere in this process I realized that I was looking at a car with a body that somehow didn't seem to fit quite right...
fGhhiruh.jpg

RpZ9HpPh.jpg

4QiesNxh.jpg


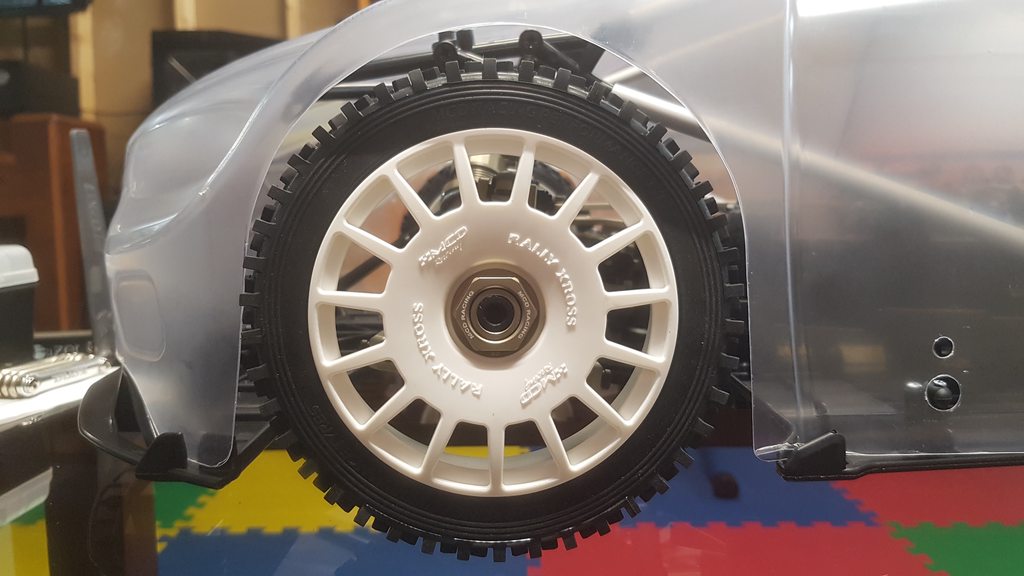
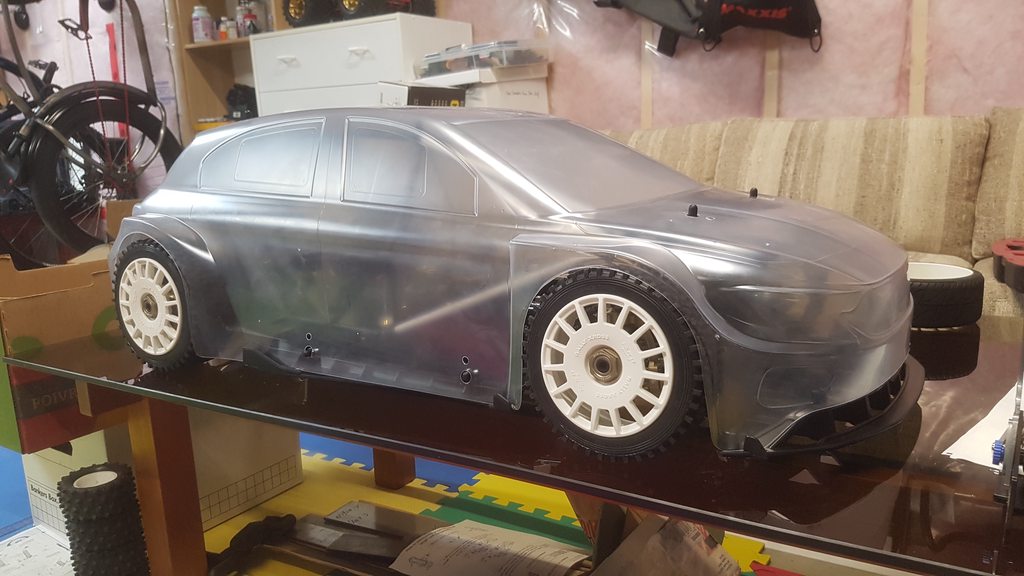
I was told it was "normal" for the tires to contact the body, but somehow it just seemed like my front end was more than a little bit "off".....
 
Last edited:
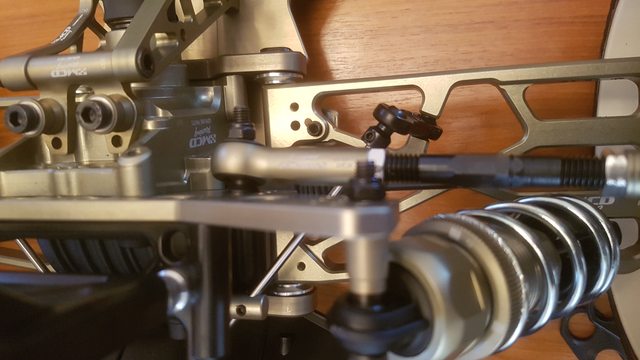
According to MCD's spec's on the car, it should have a 610-620mm wheelbase depending on setup. At full droop, my car measures out at 603mm.
At compression it was just under 600mm.

All of the spacers for wheelbase adjustment seemed like they were fine... and yet here we were.

vake5WOl.jpg

AkwnTMAl.jpg


Nope, nope, N-O-P-E... that did not look right.

I2AbXeTh.jpg
 
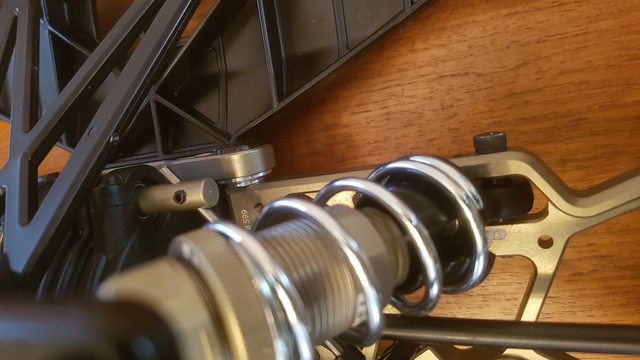
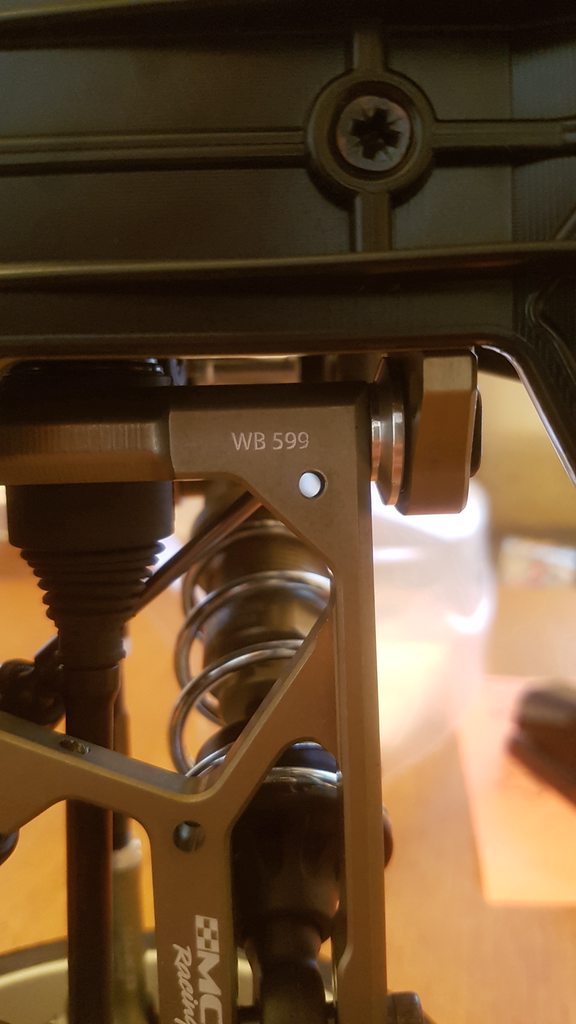
After much head scratching over many days, I finally stumbled across a small detail...

vyPkE1fh.jpg


Yup... that's the wrong set of front A-Arms. :mad: Good job MCD factory!
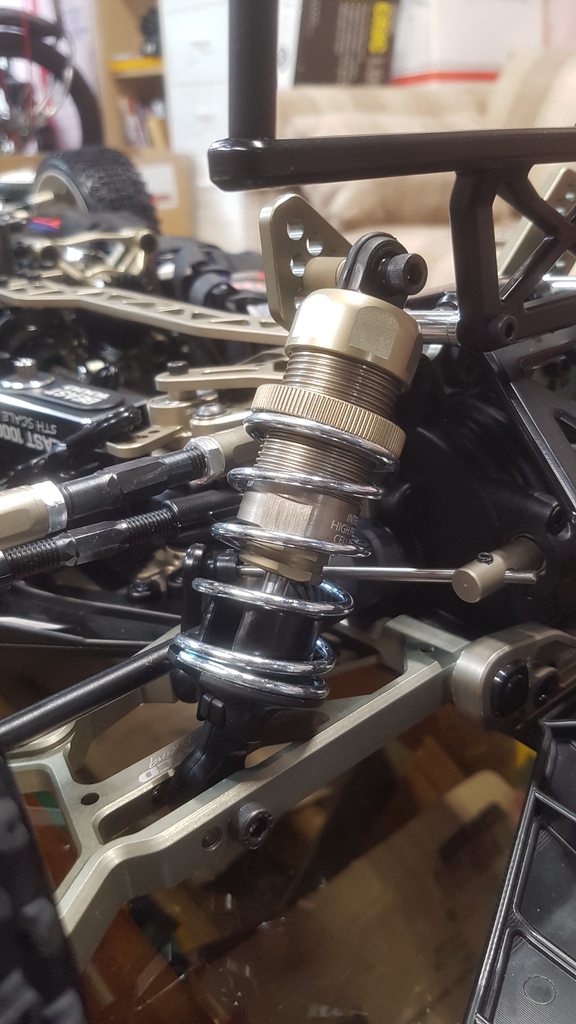
 
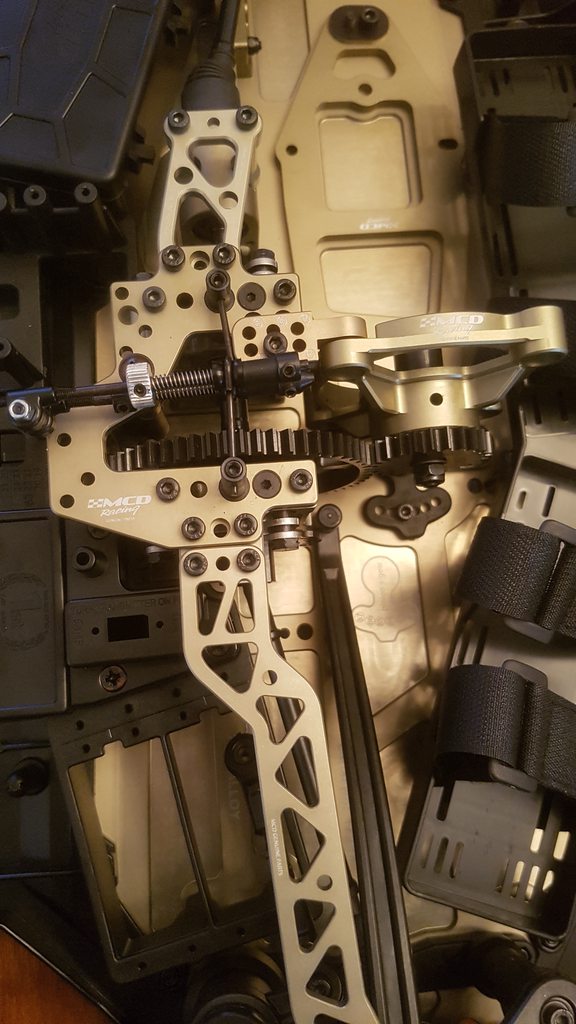
I figured if I had to get new A-arms sent to me, that I may as well pony up for the front alloy stiffener (445102A) as well. While poking around where this would go (and seeing if I could find anything else to upgrade...lol), I stumbled across another head scratcher...

dFpGwxQh.jpg

qLfz9rzh.jpg


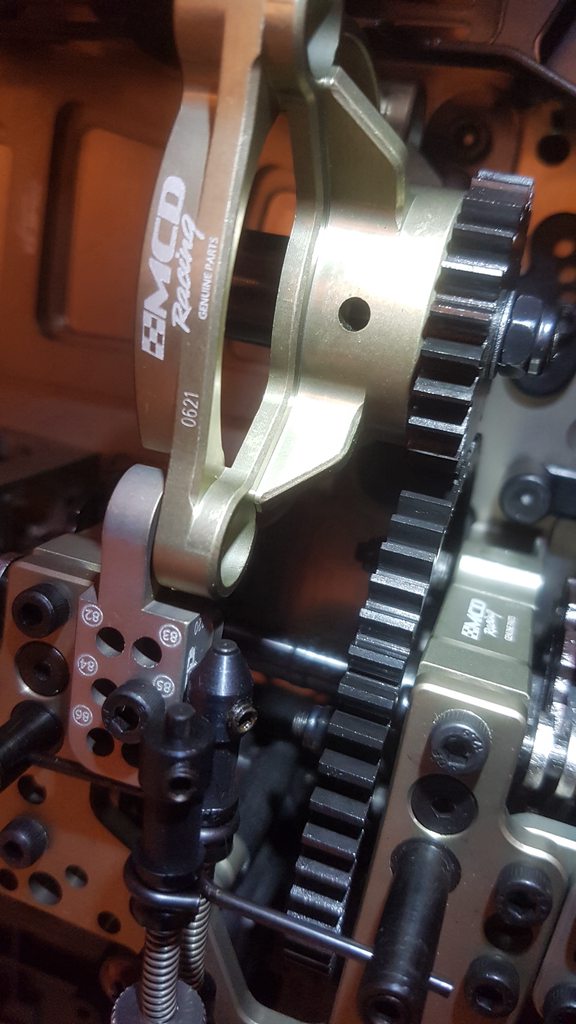
According to MCD's spec's, the FT-R version should have a front AND center LSD... and yet there I was looking at a center spool.

Oi......

:mad:
 
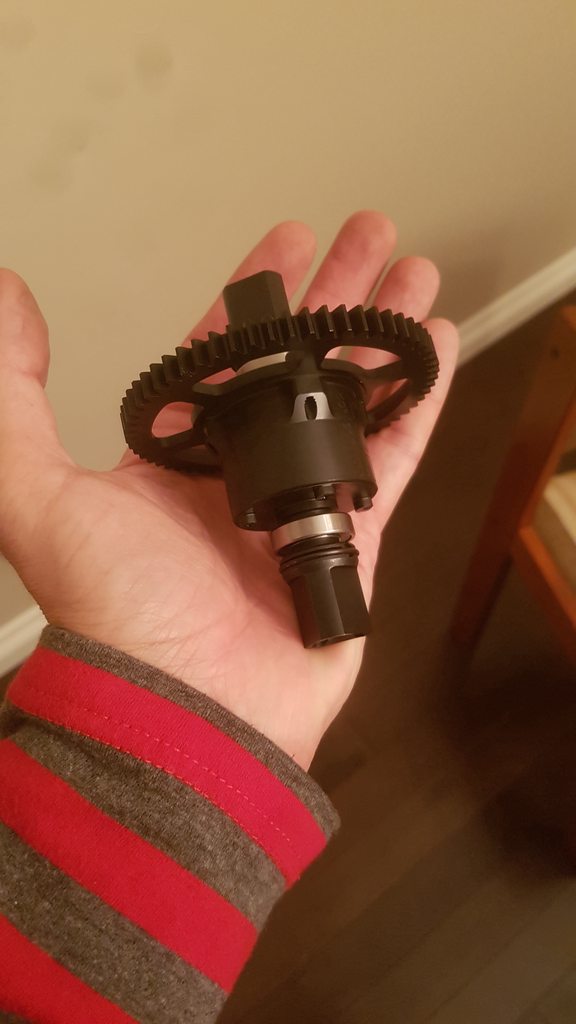
With a bit of time passed on the calendar, and my pockets a bit lighter, I found myself with an alloy front stiffener, the proper A-arms, and with a LSD in hand...

yDF0PXah.jpg


And so the build continued...
 
The intention from day one was that the XR5 would be electric. Having had gas 1/5 scales before, I was hoping to build up something a little cleaner, and a little easier to find places to drive. Some aspects of the MCD electric conversion seem well through out, while some seem a bit sub-optimal (battery placement), and some seem completely overlooked (uh... so the ESC goes where?).

MCD seems REALLY good at some things... but maybe not ALL things... :LOL:

I decided to go with the HobbyWing Max5 & 800KV motor, as it seemed like one of the more turnkey setups at the time (this part of the build predates the sensored V2 option). Power would come from a set of 4S 5200mah LiPos.

I also opted to "upgrade" to the newer-style 930301X (disc brake) servo tray, so as to free up some chassis space (for reasons to be seen in future posts).

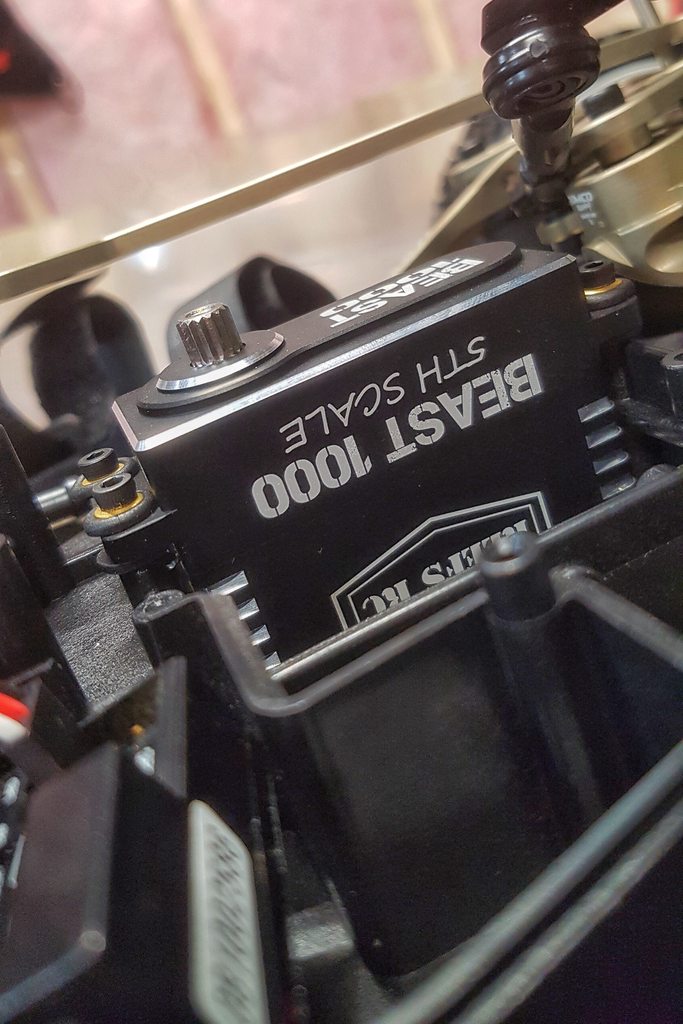
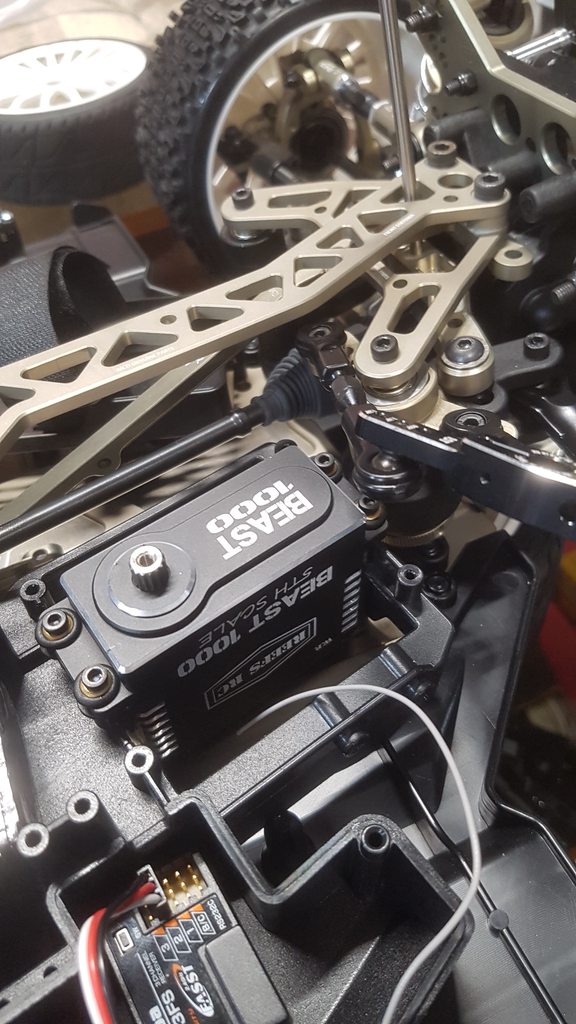
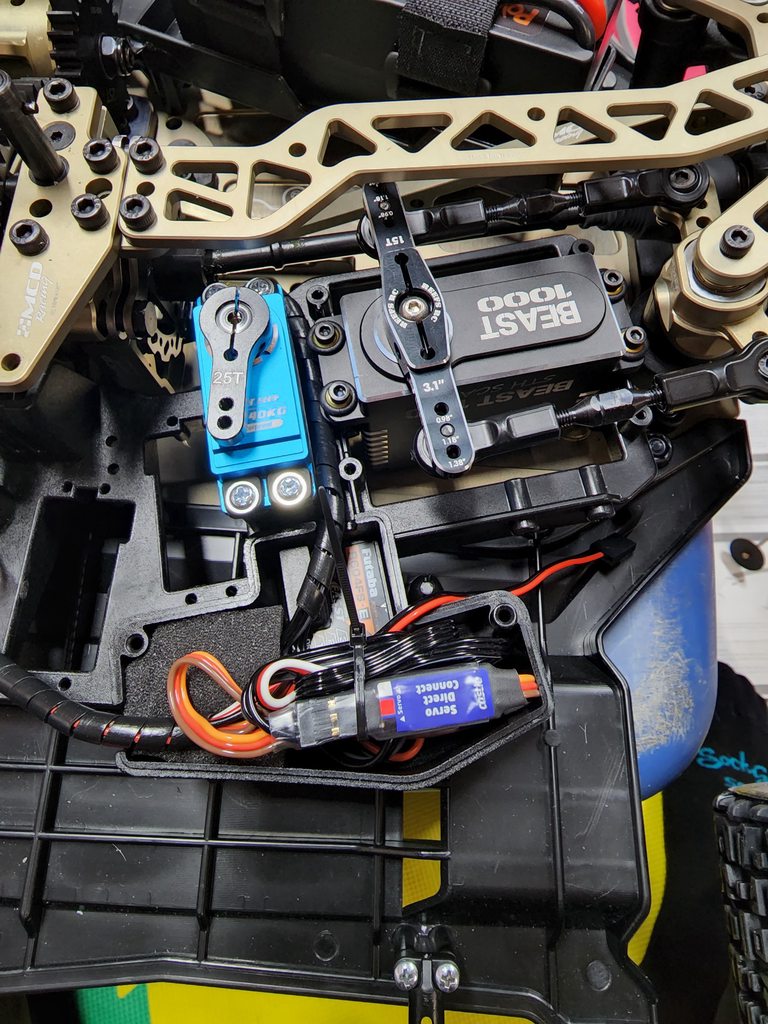
I set the car up on my venerable Futaba 4PK radio (with a 604FS-E RX), a single Reefs "Beast 1000" steering servo, and a Power HD WH-40KG brake servo.

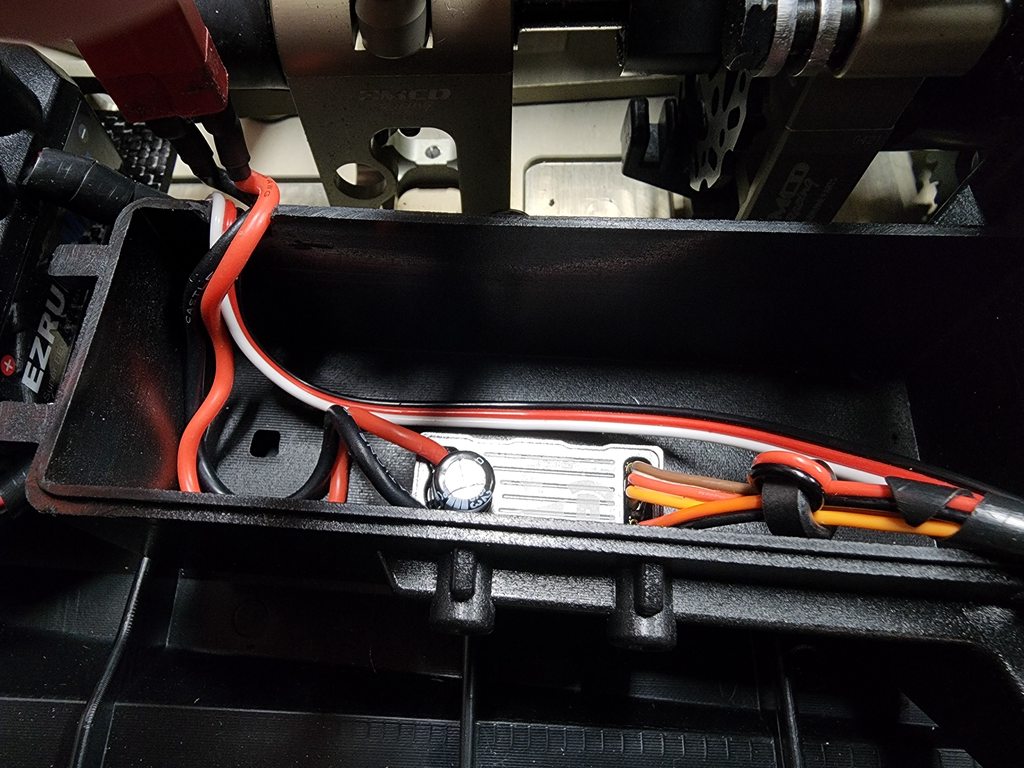
I didn't see a point in running a separate battery for the servo's and receiver, so a Castle Creations BEC 2.0 was wired in to provide 8.4v to the steering, while the 6v BEC in the Max5 would keep power going to the RX and brake servo.

mKcBtoVh.jpg

1nIyheMh.jpg

rNShsdeh.jpg

uaNuncUh.jpg
 
Last edited:
No clue why the abbreviation for "Battery Eliminator Circuit" in my previous post is automatically turning into a link to Amazon. Oi...
 
With the electronics starting to go into the XR5, it was time to turn my focus to the annoying lack of ESC mounting options...

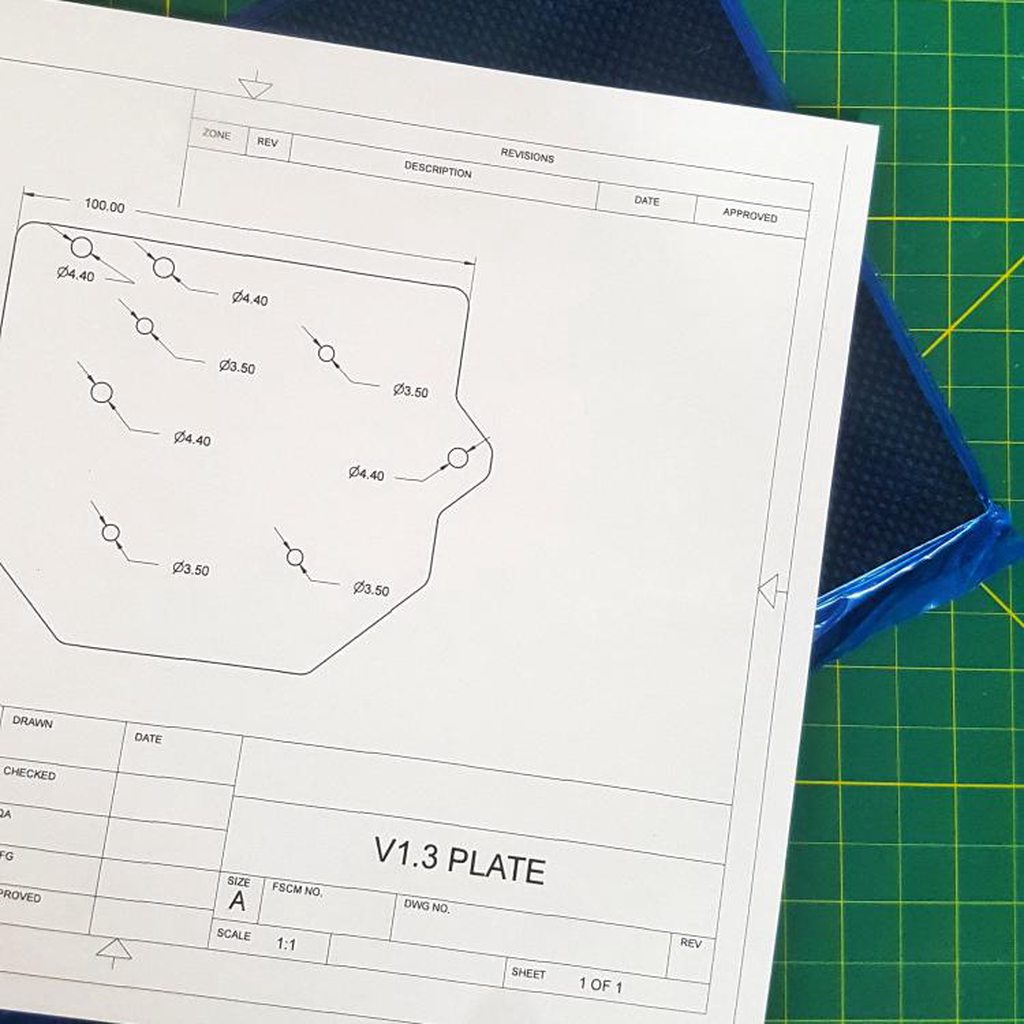
As mentioned earlier, by switching to the newer servo/electronics tray, a bunch of room is freed up on the rear of the chassis. Some measurements and some basic CAD work, and I had me a template to play with...

D6M8CEdh.jpg


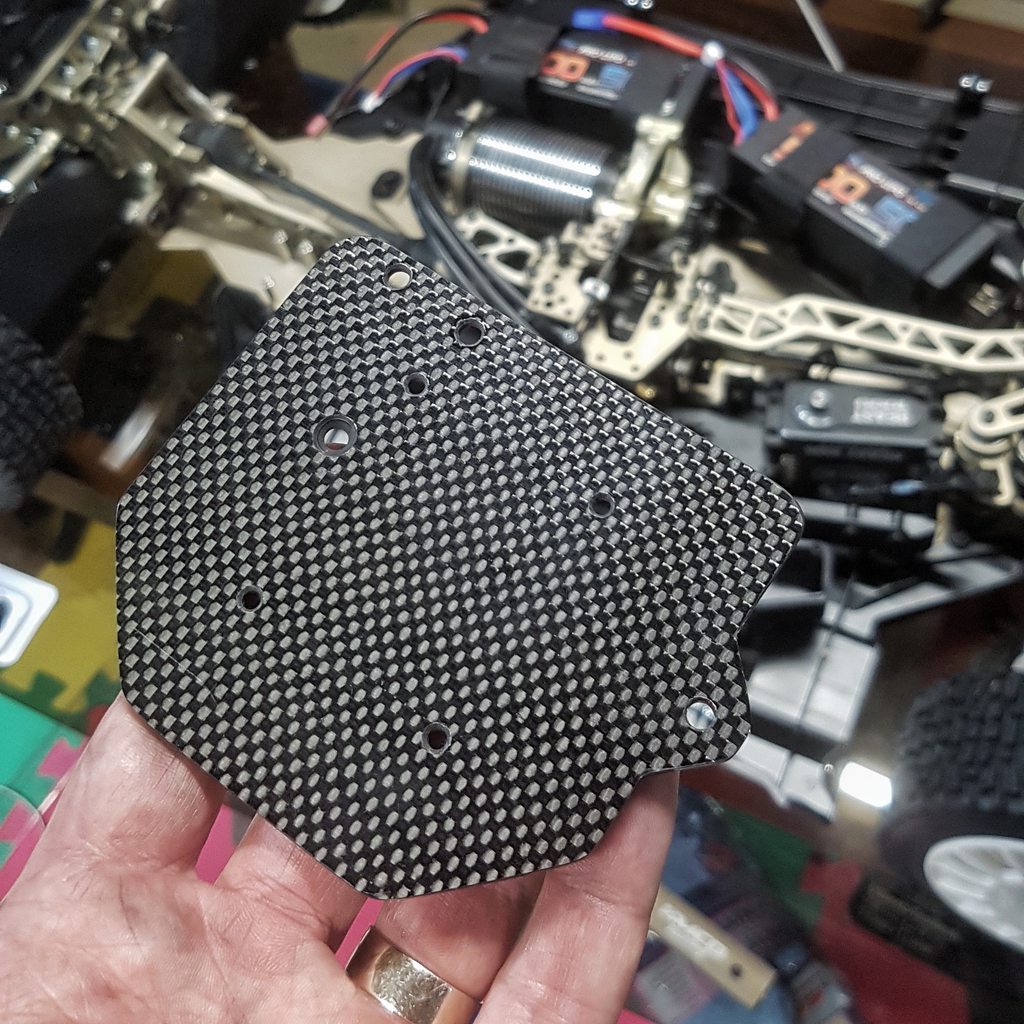
A little while later, and the template had magically transformed itself into a carbon fiber part!

nJ9AiW4h.jpg


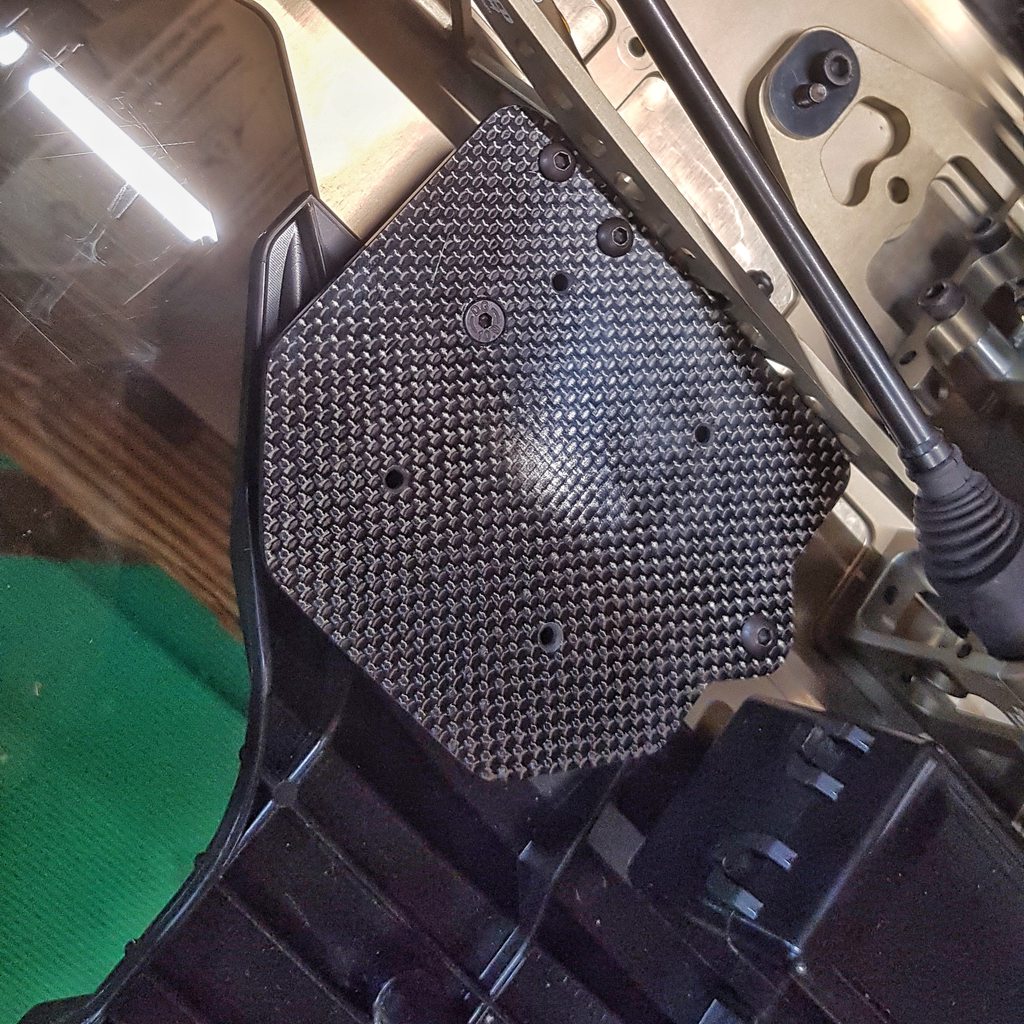
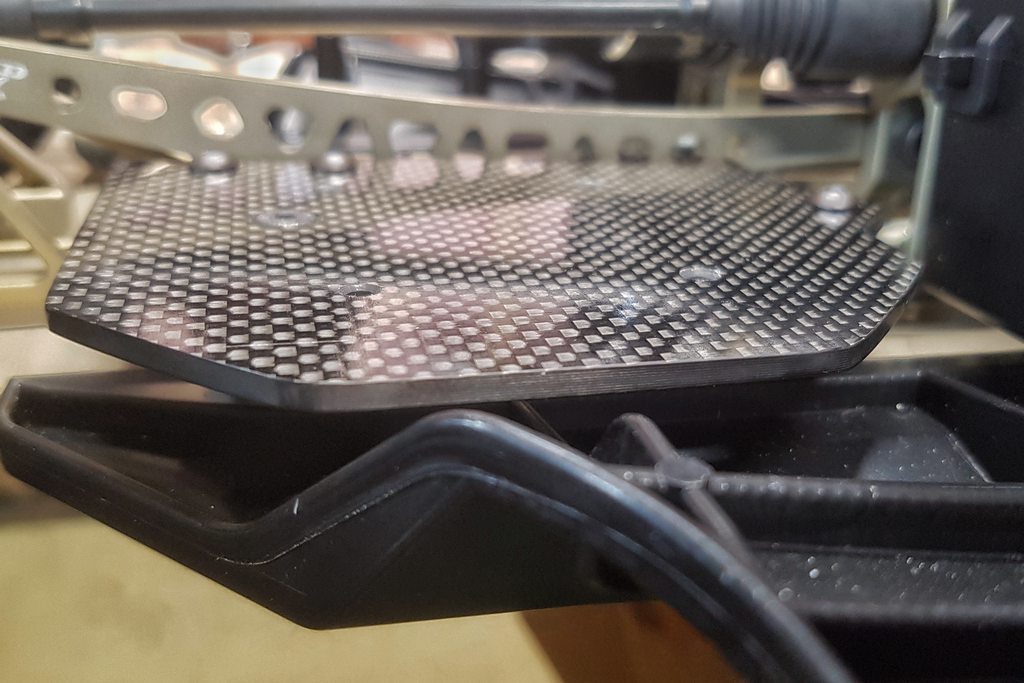
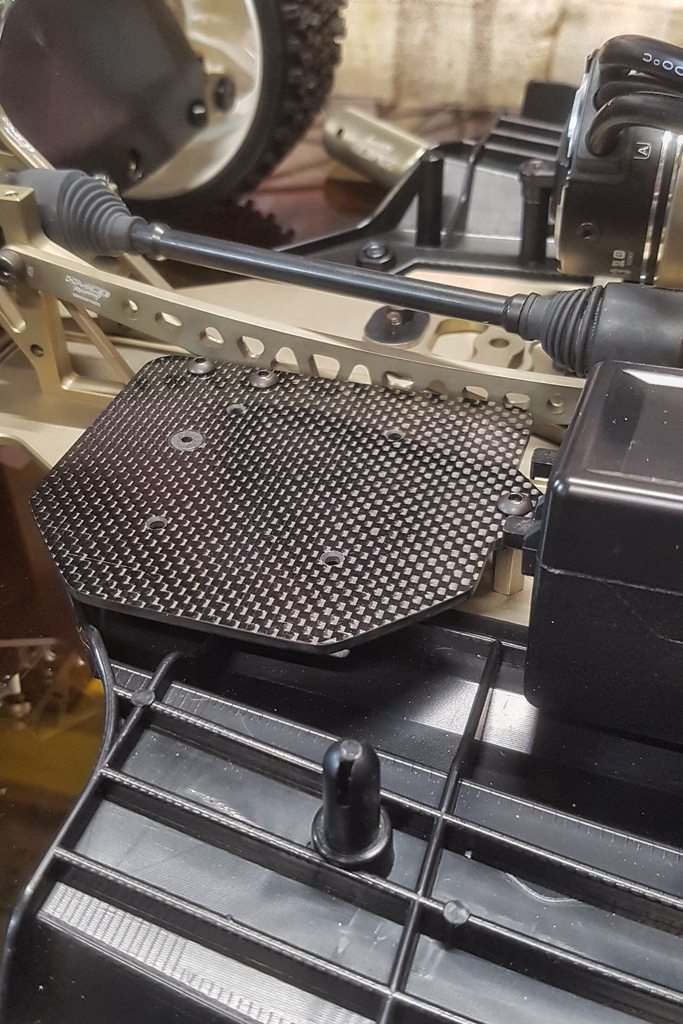
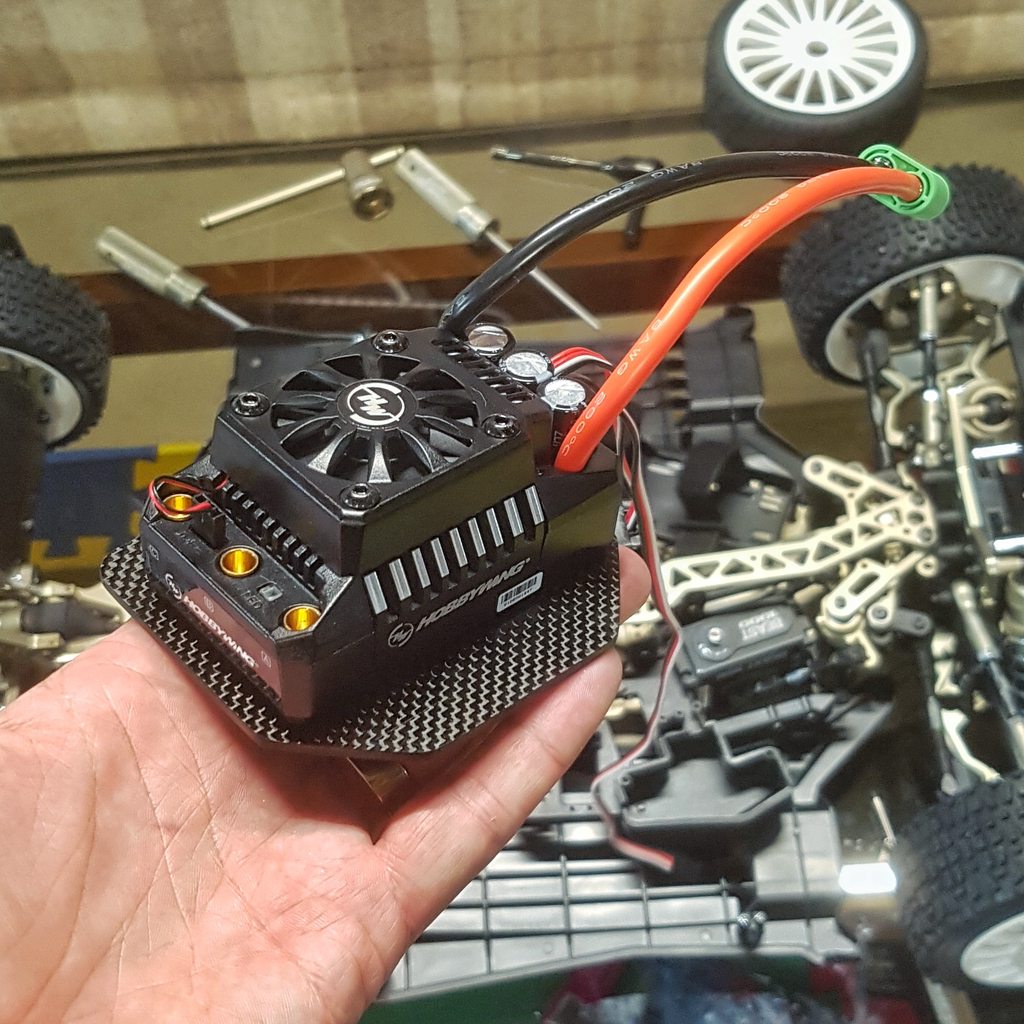
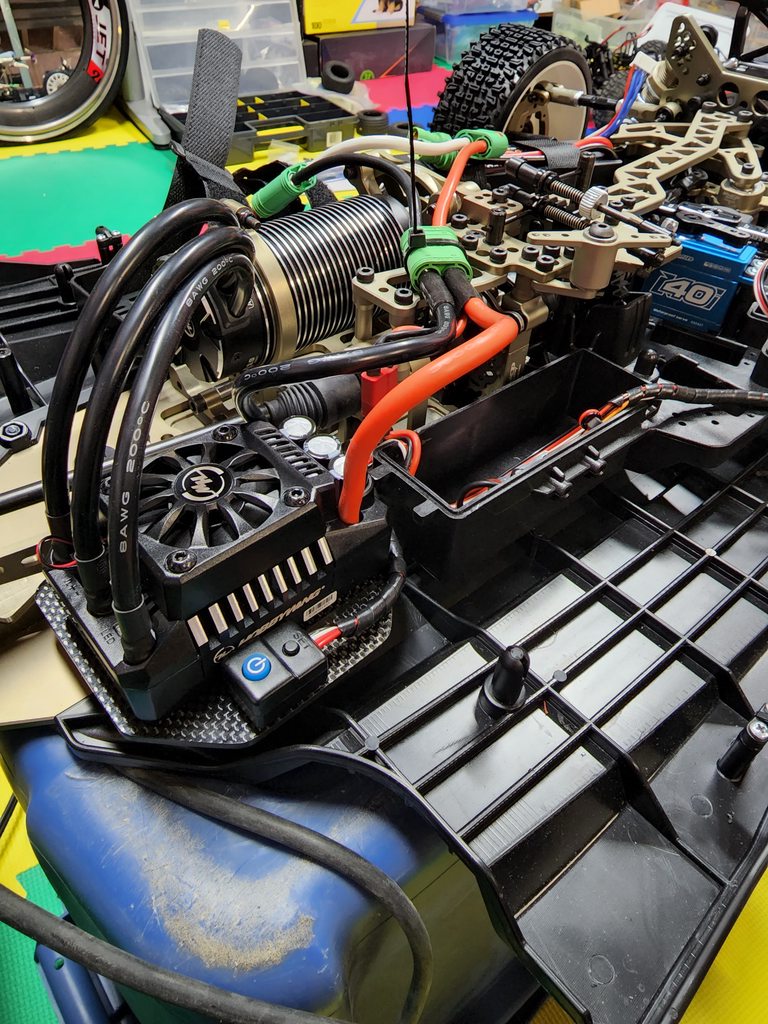
The design here uses all factory screw holes in the chassis, and is spaced upwards using threaded aluminum standoffs. Mocking it up for fitment...

bDVCTgBh.jpg

bN65gjvh.jpg

UxEmNUIh.jpg


And then removing it so the ESC can be mounted with 4 screws from underneath.

HRdZiTih.jpg


I had opted to run Castle Creations 6.5mm connectors on the ESC as I heard they were good in large-current applications.
 
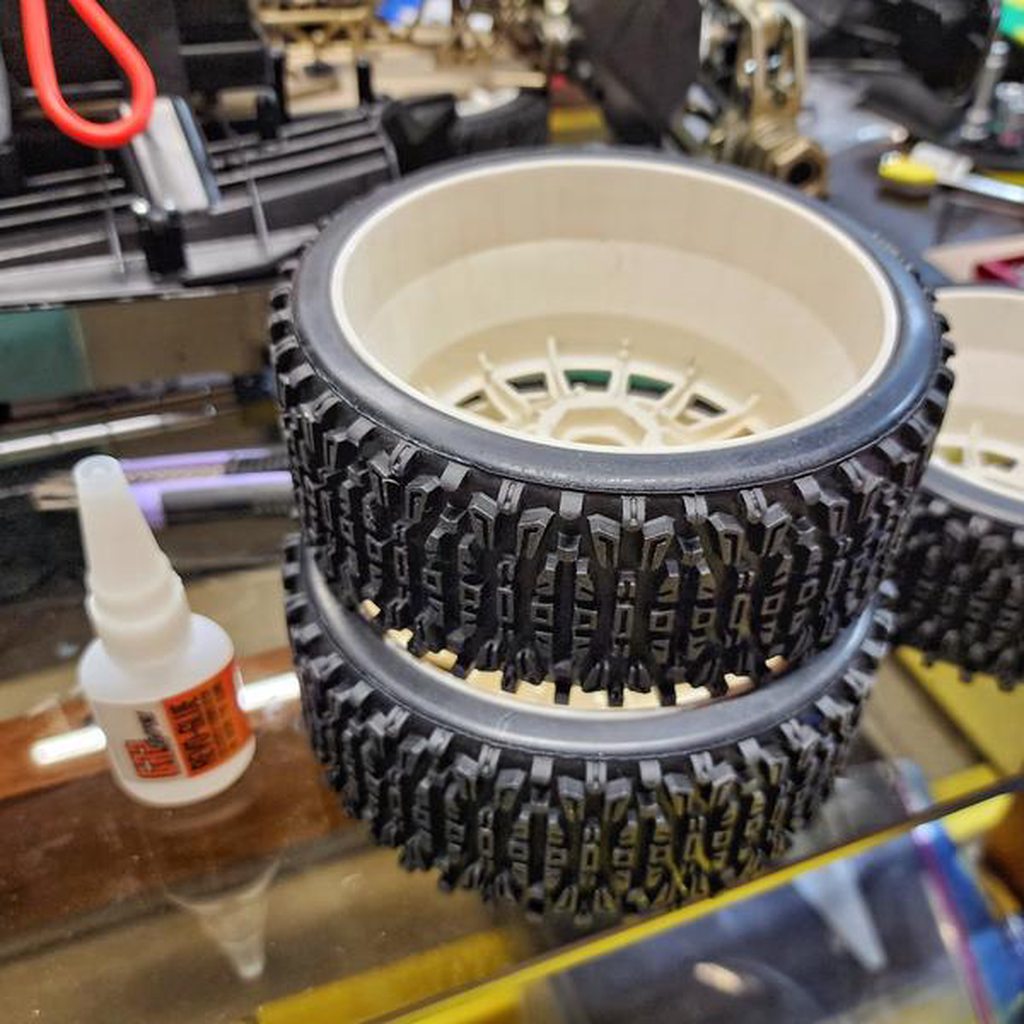
At this point I was also starting to mock up the car with the "Rally" wheels/tires (which annoyingly came unglued... I HATE gluing tires...).

0qsgCThh.jpg


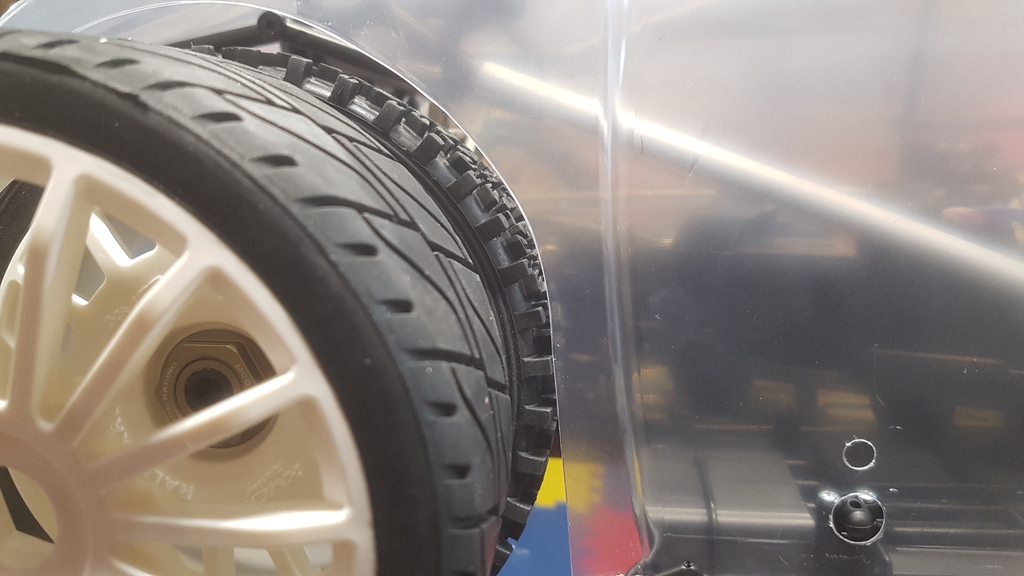
My intention with the XR5 from day one was to do more of a "Gravel-Spec Rally" car, and less of an onroad track car like many of the build I've seen. These tires seemed like the logical starting point for this... and then also quickly introduced their own challenges as the tires are roughly 5mm larger in diameter than the tarmac tires that came with the kit.
 
Side by side, you can see how much larger the MCD Rally Xross tires are compared to their road-going counterparts:

EmsZrp7h.jpg


In order to make this work as I was intending (hoping?), I decided to open up the wheel well arches a bit. The other quick modification I made was to cut/grind off part of the front bumper on the inside, as the swept back edges can contact the tires if you let the suspension droop down any real amount.

aDmh9D7h.jpg


As I was going for "more travel", the droop screwes were backed out, the upper shock mounts were lowered, and the lower shock ends were moved to the inboard hole. Softer springs were added to each corner.

AgwGYm5h.jpg


With the trimming of expensive parts completed, the XR5 was starting to look the part all mocked up...

Mqb3pGJh.jpg
 
I remember back in the early 2000's when I painted my first large scale shell. I was SO excited about it conceptually, thinking that the size would make it so easy to work with compared to the smaller 1:10 bodies I was used to. In reality, it was a NIGHTMARE... the larger canvas left so much room to fill, and the huge areas were just walls of paint finish issues waiting to happen. When it can time to do the body for the XR5-Max, I was wrapped up in more than a little bit of dread...

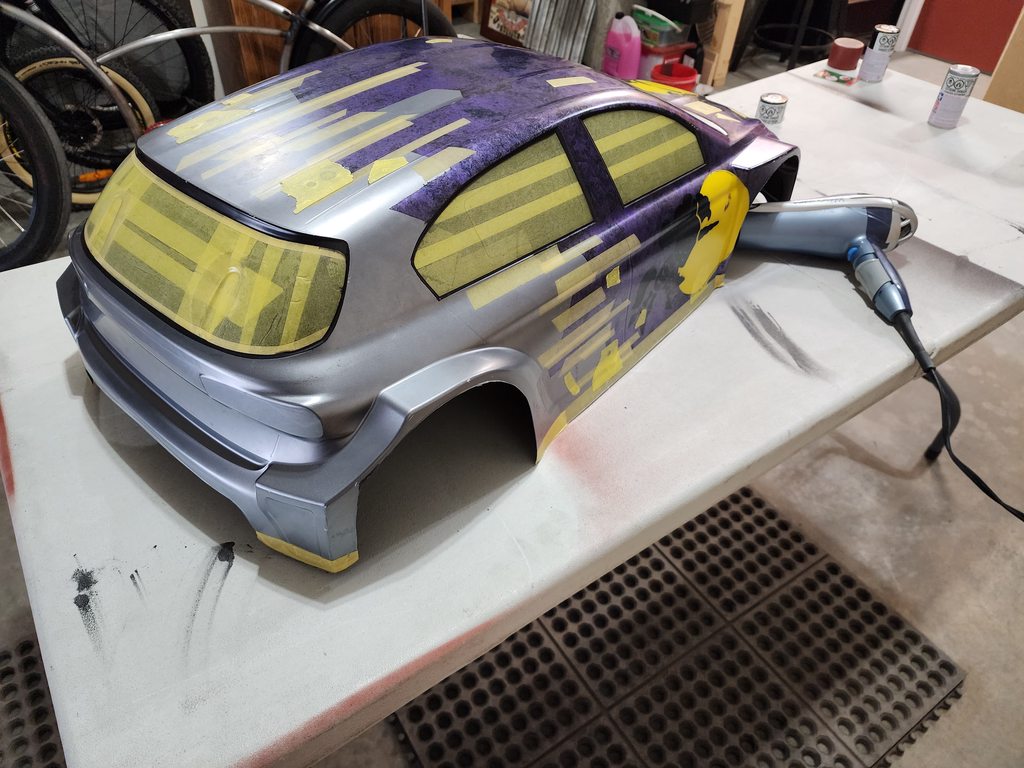
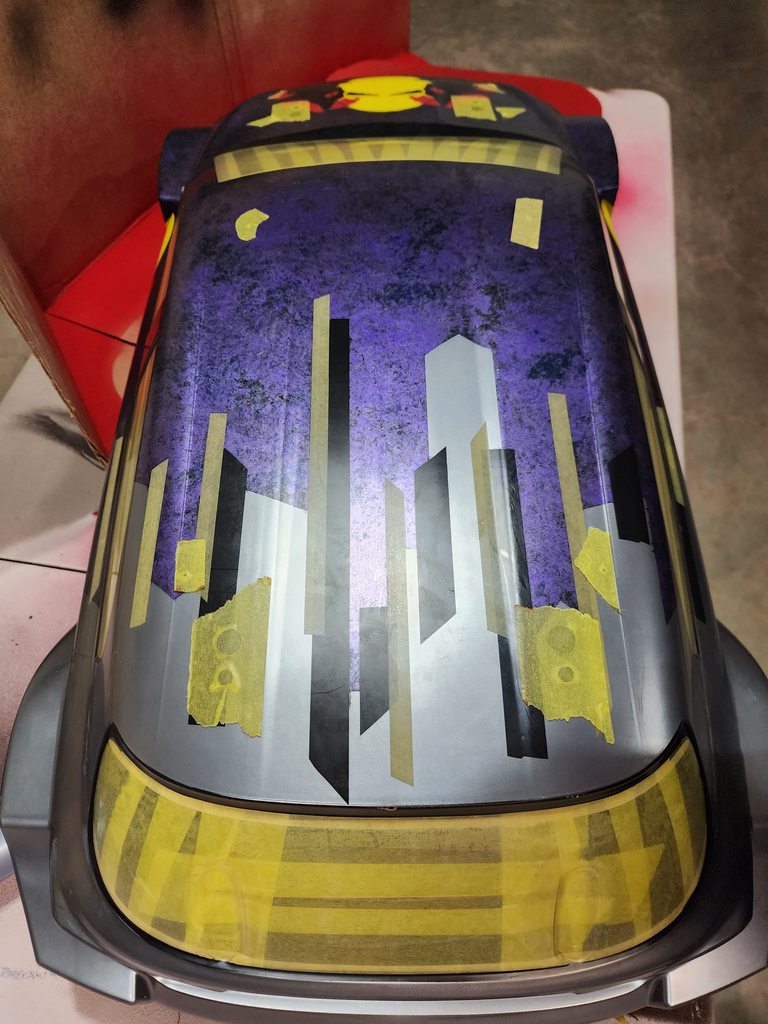
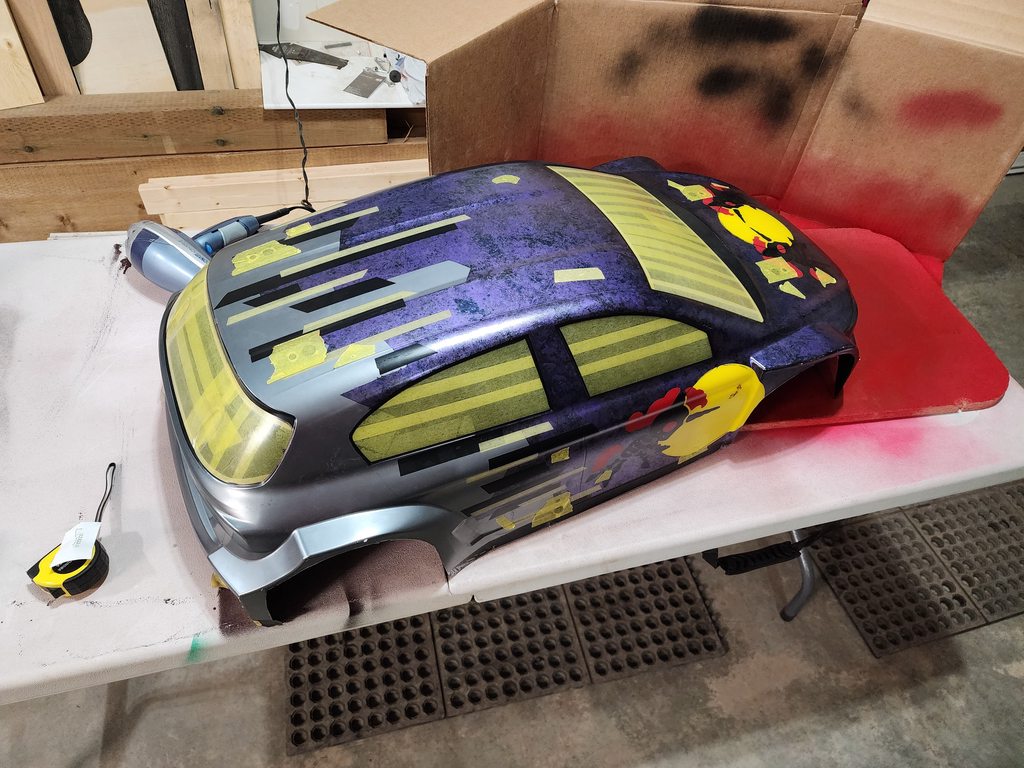
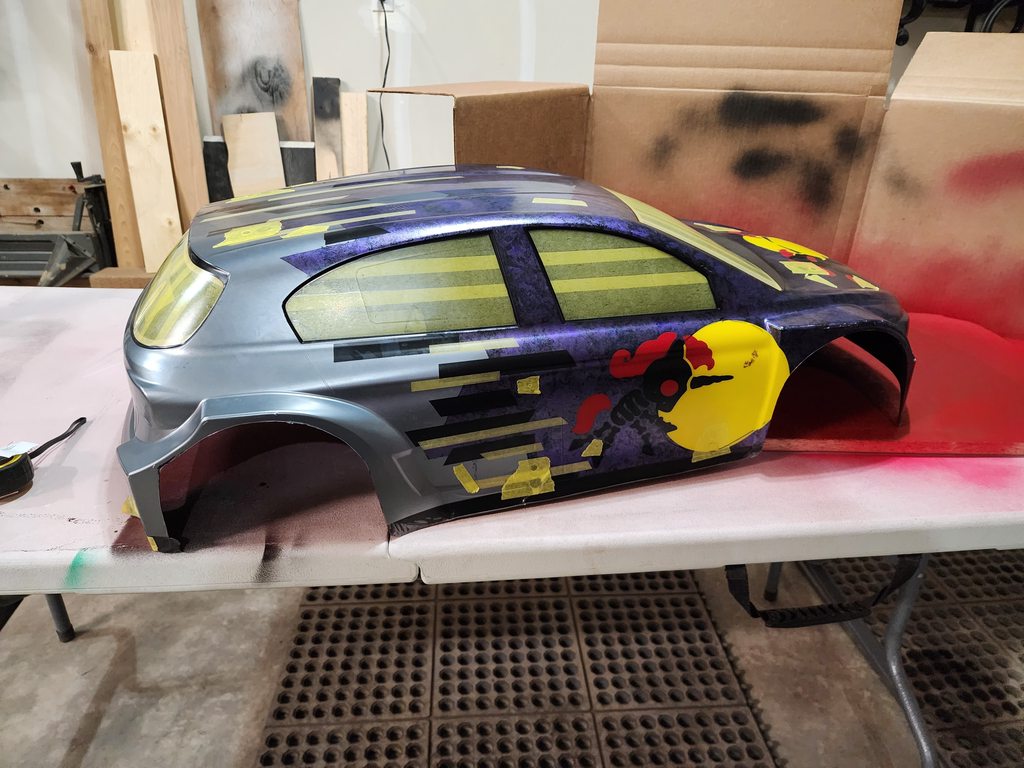
Since I was doing a "Rally" type build, I felt that using a "Red Bull" theme would be sort of fitting. Except that I didn't want to rip off the Red Bull design, and put it on the shell of a car that doesn't exist. In the end, I used various Red Bull rally cars as inspiration, and opted for my own tongue-in-cheek riff on the livery. Colors were chosen from both the livery palette, and from things that my daughter and wife like. The "main character" in the paint job would be a long standing re-occurring theme from my daughters early childhood.

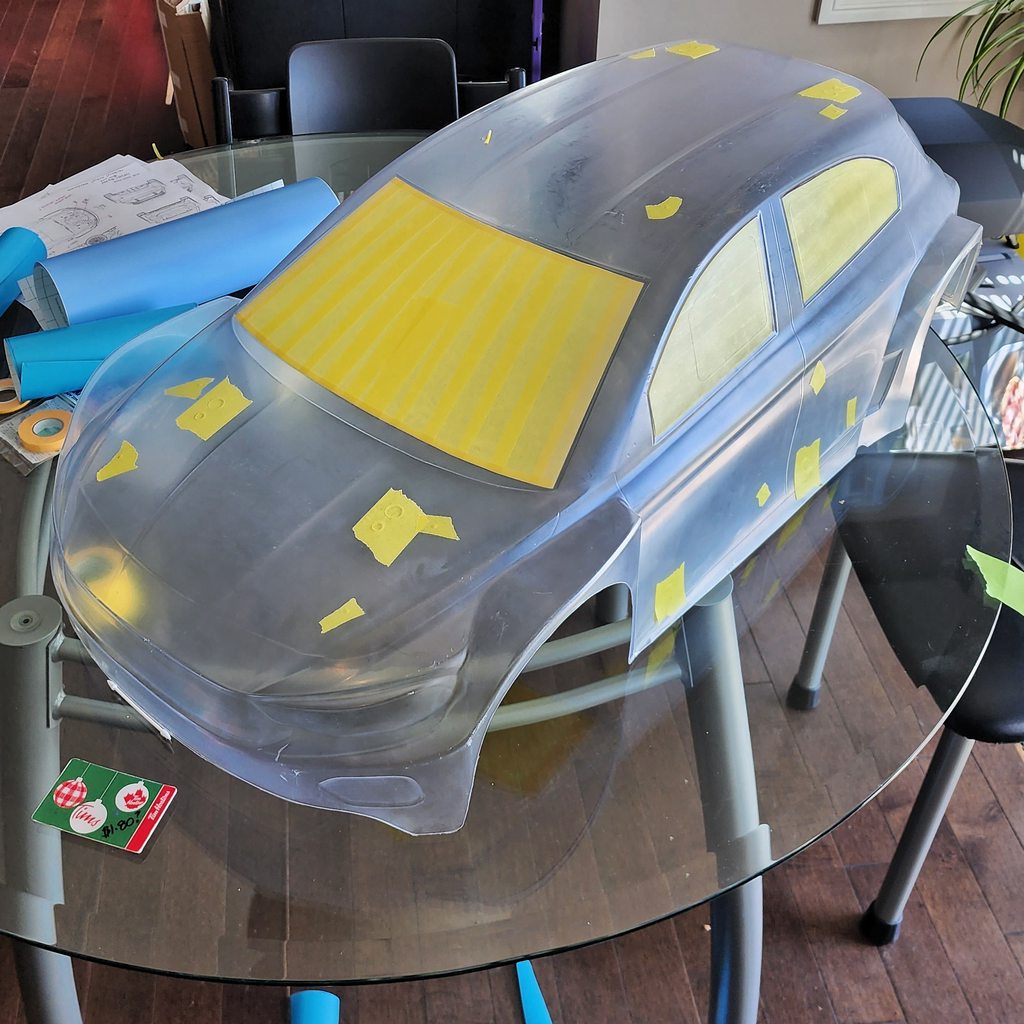
And so began a truly disgusting amount of masking work, starting of course with ensuring the windows would remain as clear as..... well, windows.

WHFBtmMh.jpg
 
The first thing to paint was the trim around the windows. Between the last photo and this one, there are literally hours of masking, painting and unmasking.

pGzAHxnh.jpg


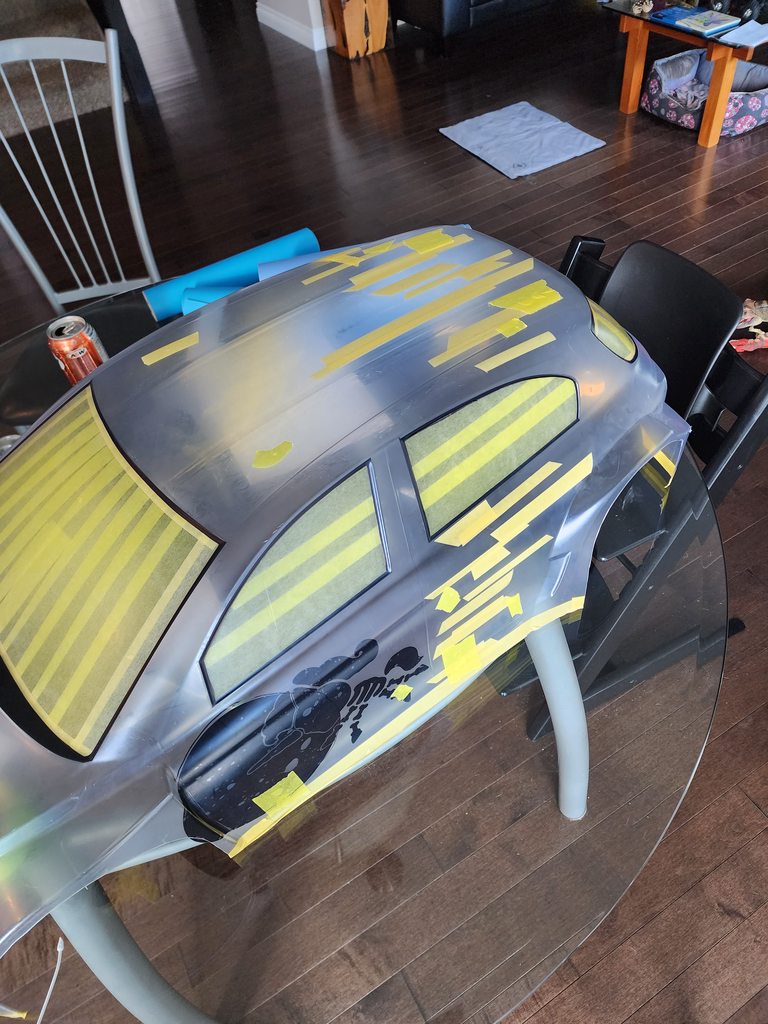
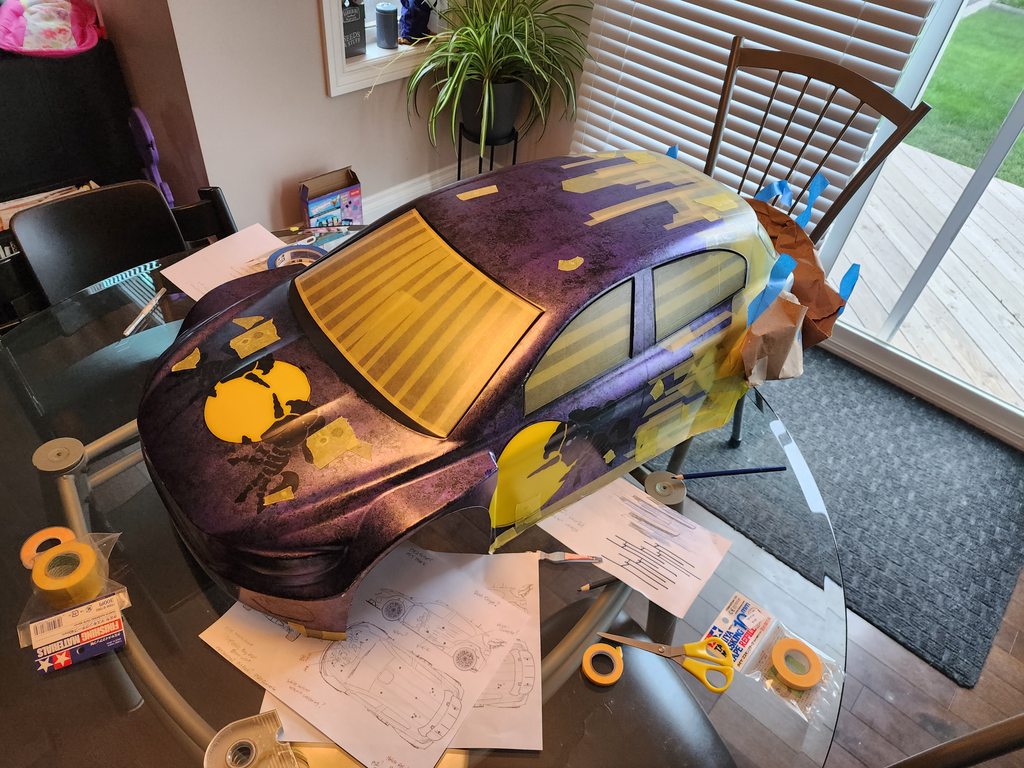
As seen above, I had also laid out some of the other livery aspects in CAD, and printed some paint masks on a vinyl cutter. Most aspects of what is to come are starting to be loosely defined above with more masking tape.
 
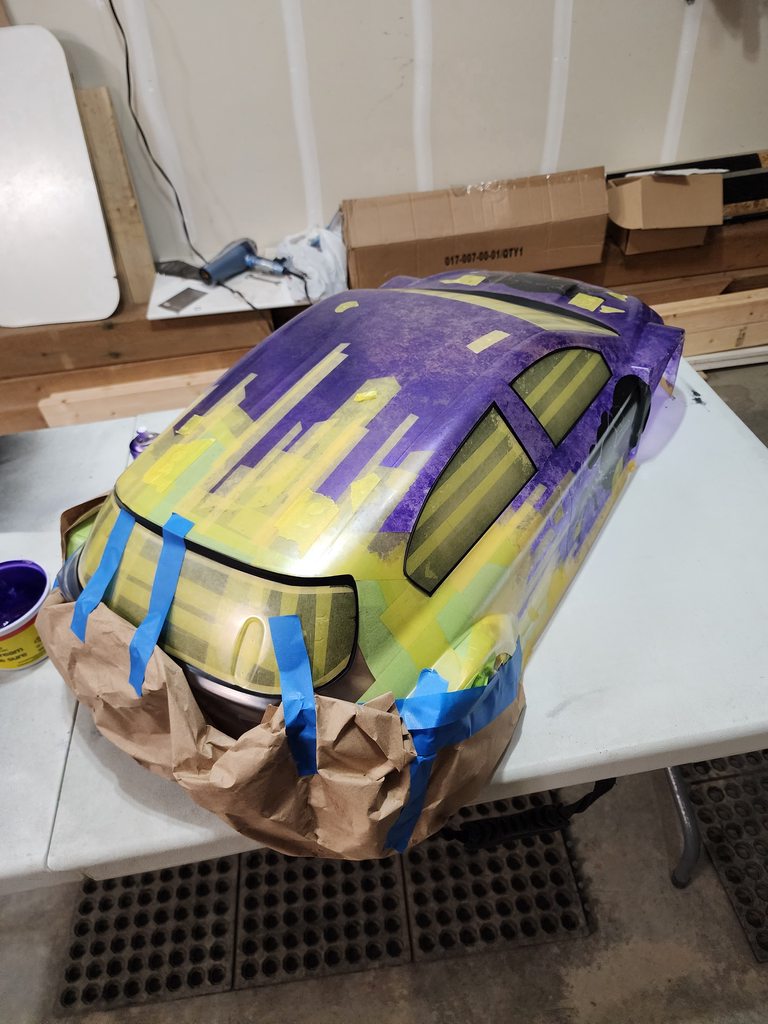
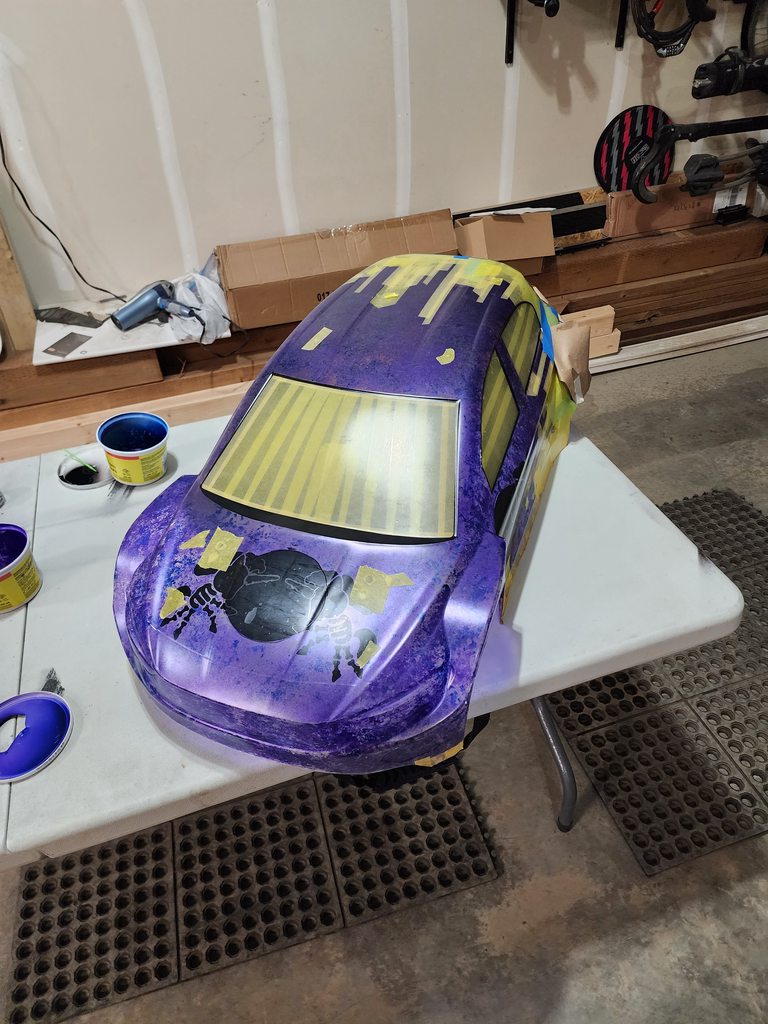
After a LOT more masking, it was time to start laying down some color. Metallic purple was the first main color to make an appearance, and this was roughly applied by hand in a very thin coat.

6xL9vOwh.jpg


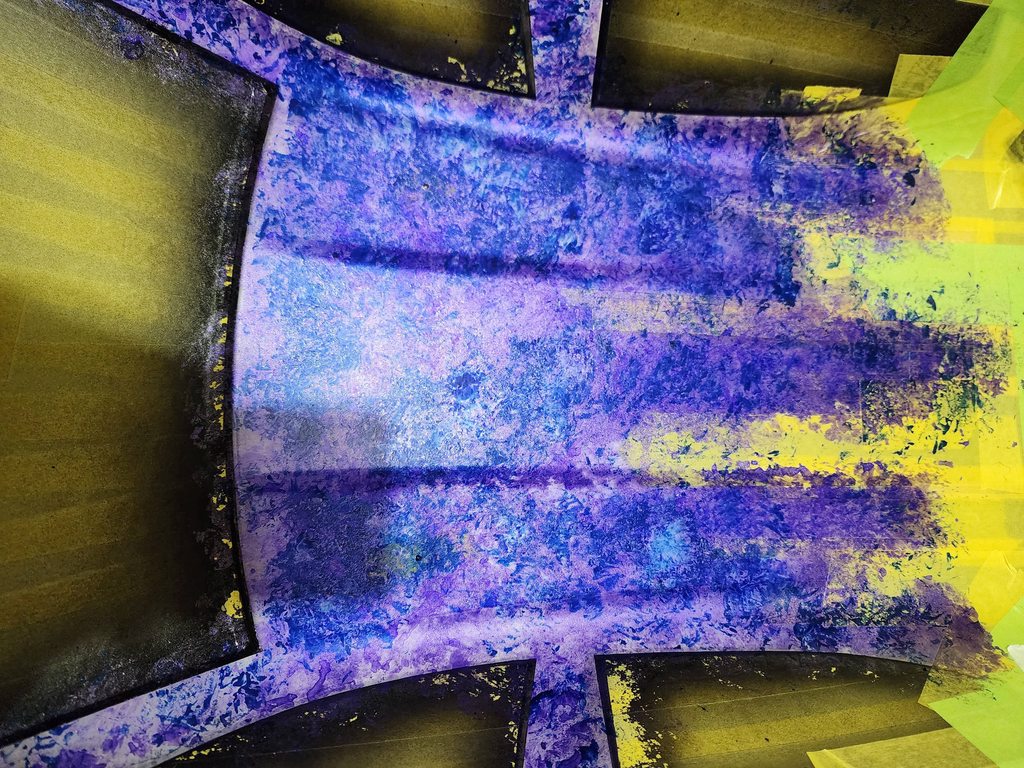
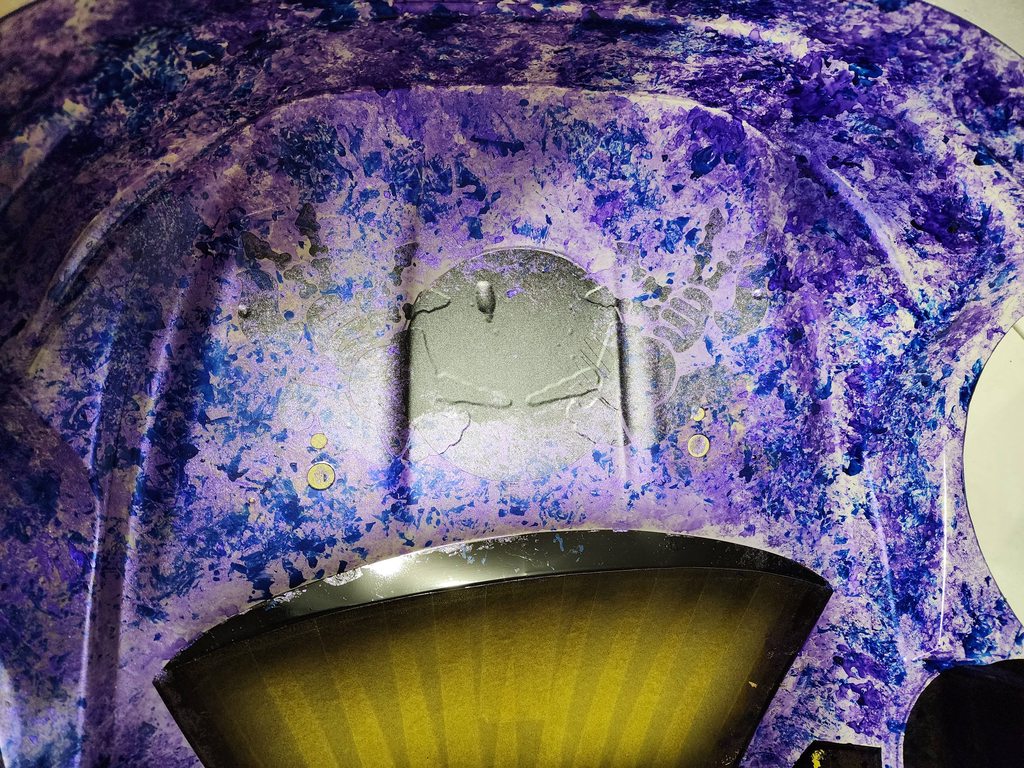
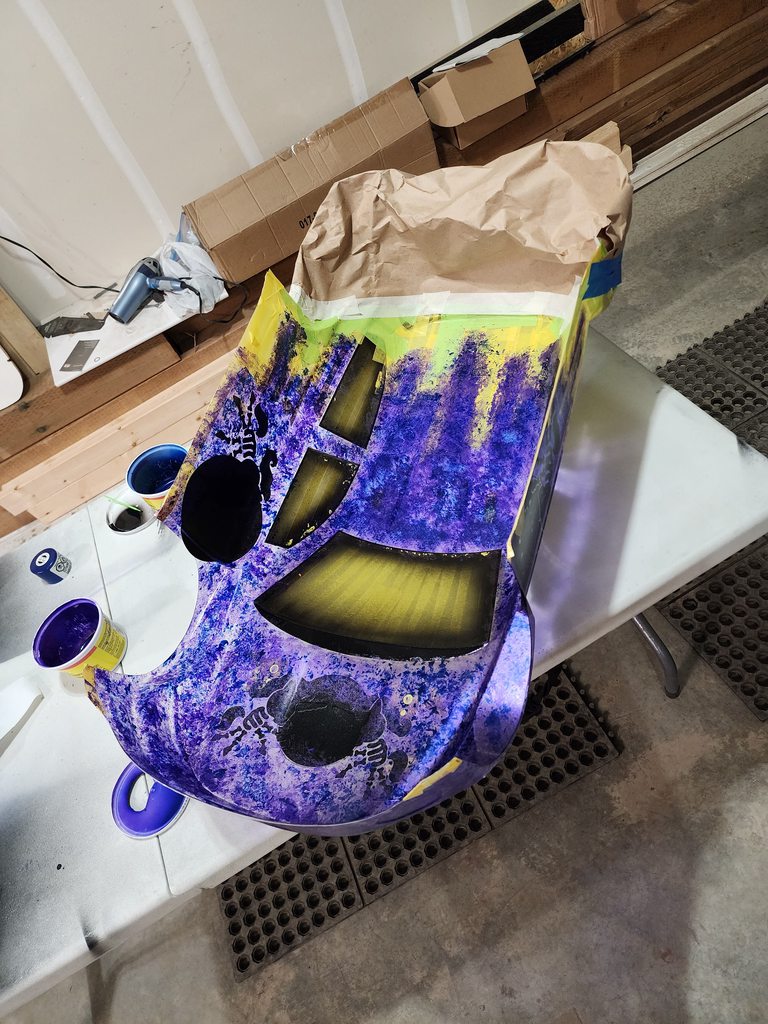
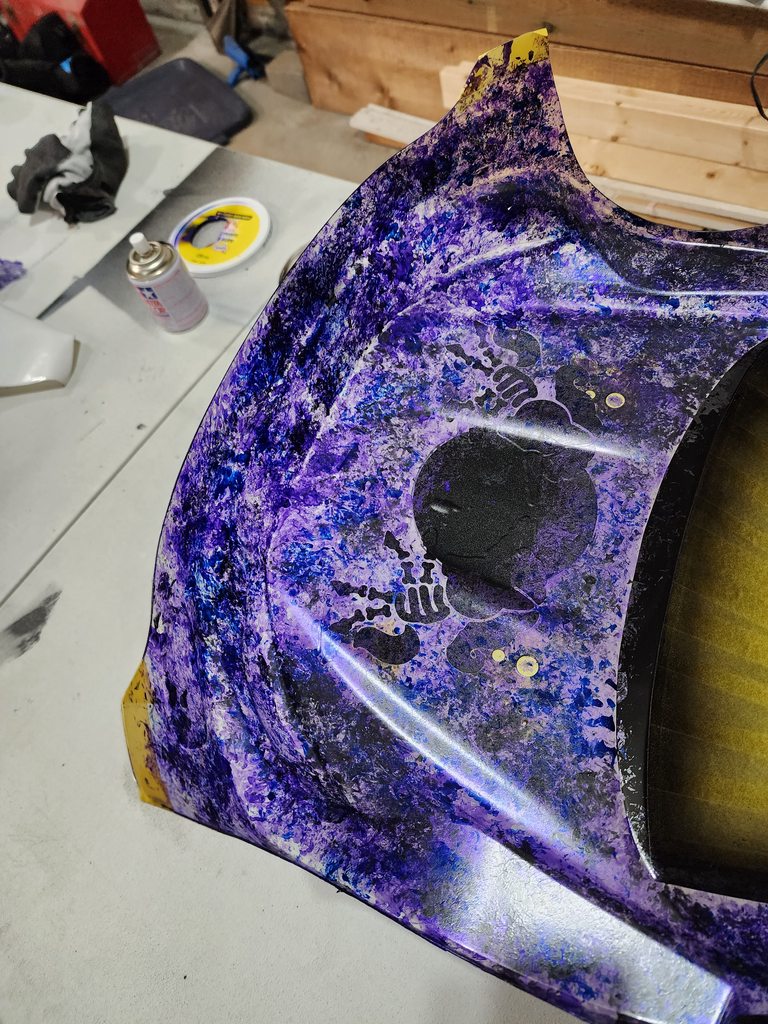
After that, a thin splotchy coat on metallic blue was applied by hand.

d4a8uT6h.jpg

stpWiuSh.jpg

O0KWvuAh.jpg


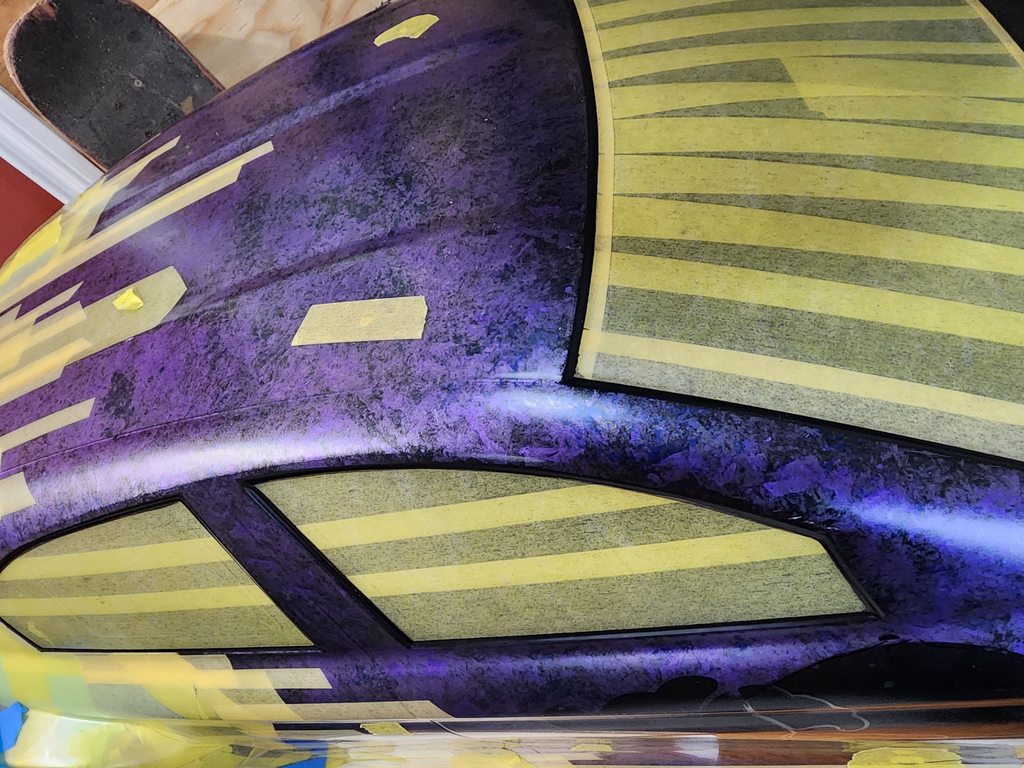
From the other side of the shell you can see how this method starts to bring together an interesting effect giving it some depth and complexity.

yM7bLv9h.jpg
 
I had originally picked up a set of the 3D printed front headlight buckets that Cardinal Racing sells (as designed by kpocRC), and had figured out the wiring for the LED's. I wasn't super happy with how they fit or mounted, and ultimately it looks like the larger rally tires and longer travel suspension would hit them anyway. That part of the project was scrapped, and they have been sitting in a parts bin ever since. I really should get around to listing them for sale...
 
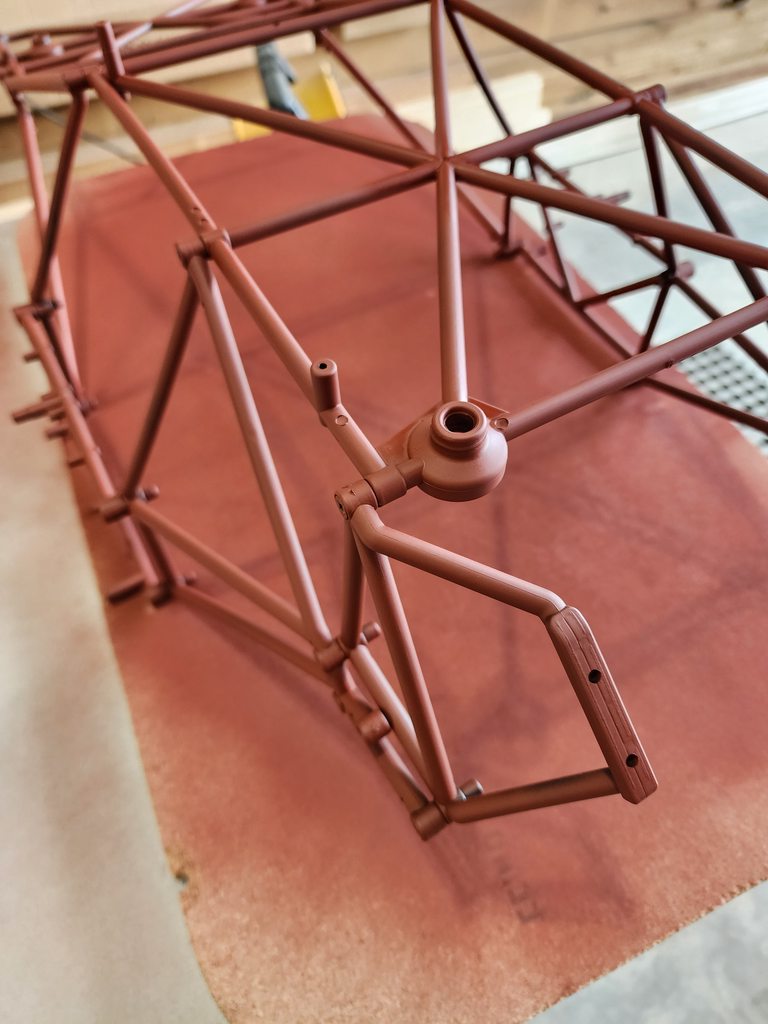
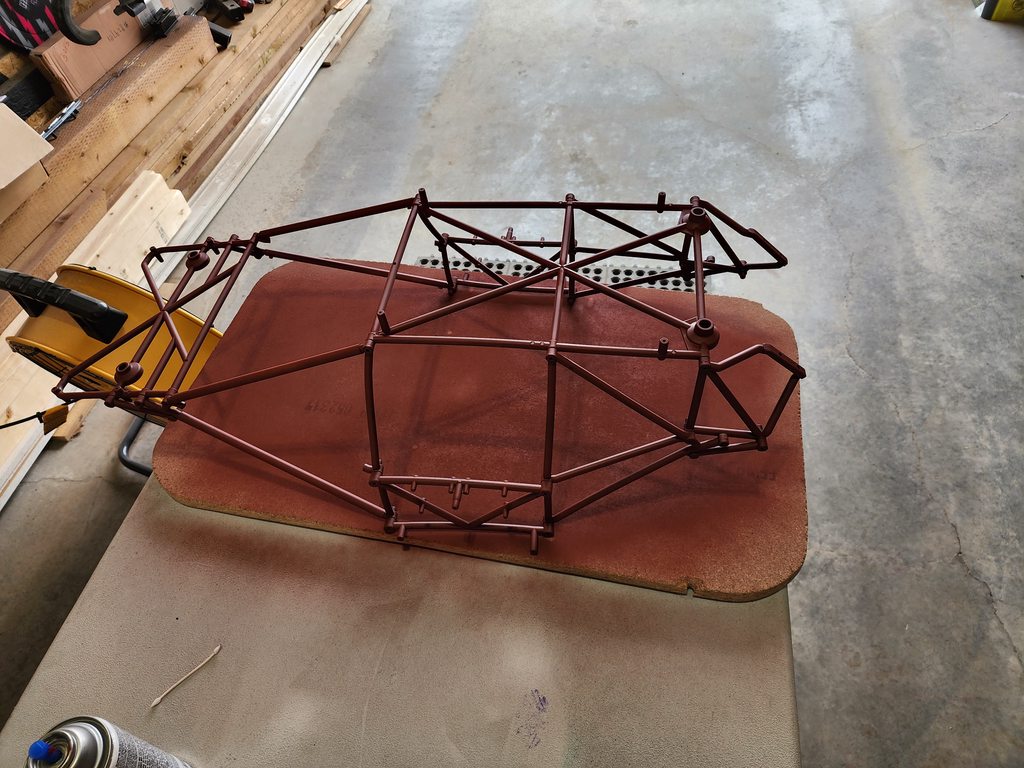
Not being one to leave well enough alone, I figured if I was already painting the shell, I mas as well paint the roll cage too!

For some reason that makes no sense, I took some photos of when I hit it with some primer first...

OtnKyEgh.jpg

zorRrTDh.jpg


But not photos of when I sprayed it all red later.

Go figure.
 
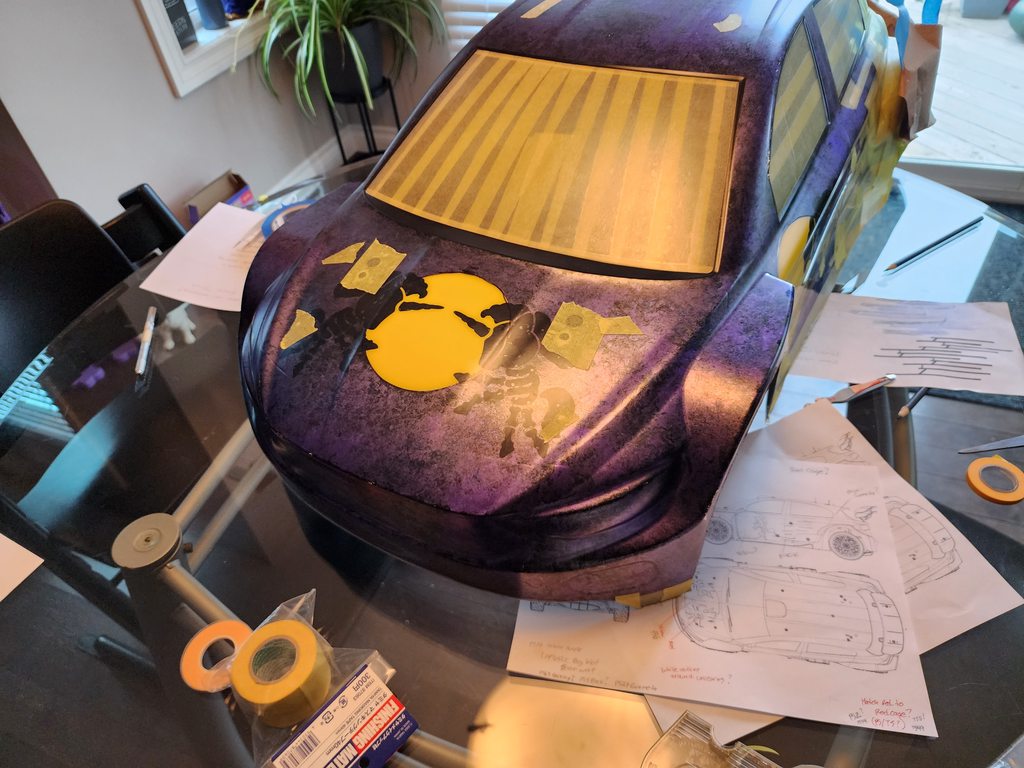
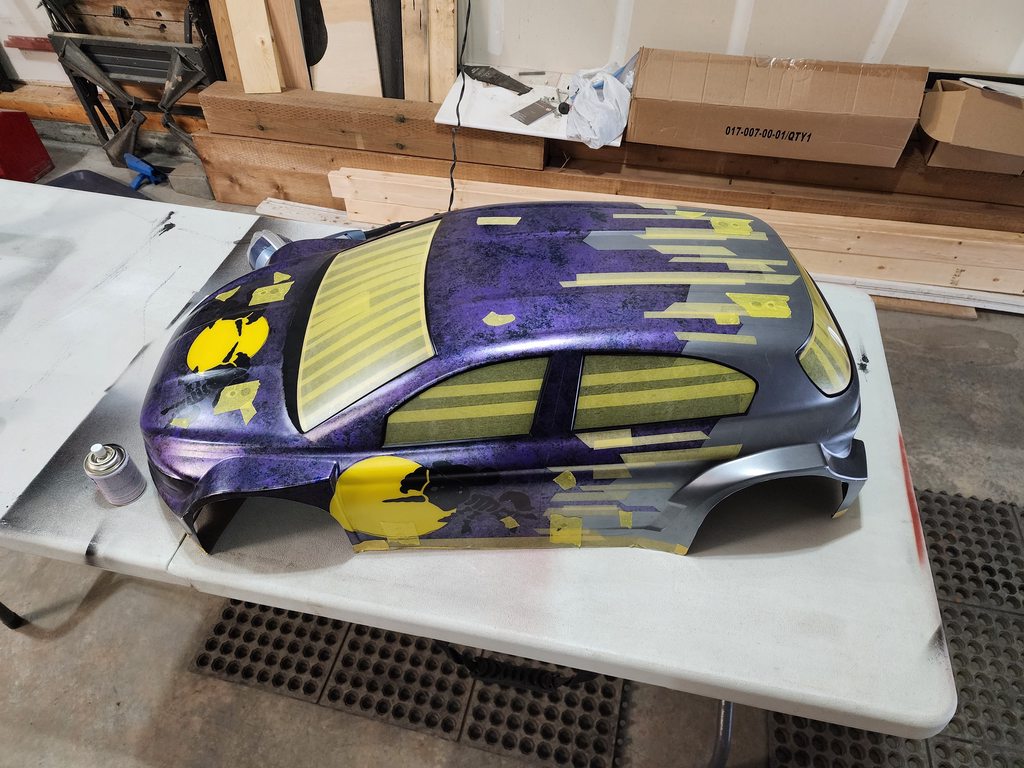
With the main color out of the way, it was time to move on to painting the yellow "suns"...

qL4K2yhh.jpg

0XouZkwh.jpg


They don't stand out much at this point thanks to all the Tamiya and 3M yellow masking tape everywhere...LOL
 
Back
Top