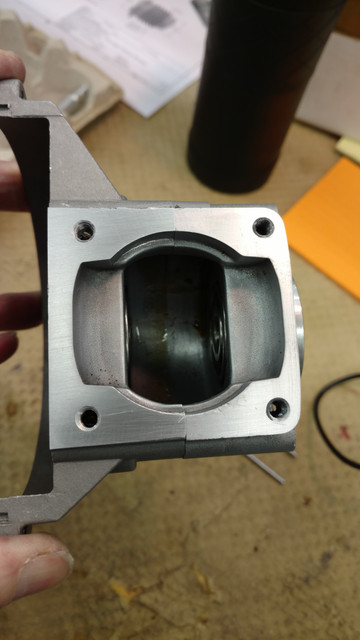
The next quagmire the DDM velocity stack's bore was too small to fit my carb.

Not anymore. Mini mill with a boring head to the rescue, had to open up the bore about .190" to clear the choke plate.

Done.

Back to final assembly, I like to use die-electric grease on all my electrical connections. This stuff eliminates moisture intrusion which can cause all types of issues :

Some more random sealing of surfaces I think might be an issue :


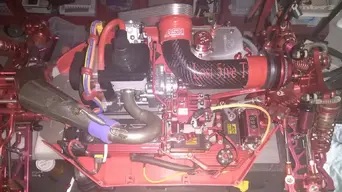
And were DONE ! Should get it back in the chassis tomorrow and begin some break-in heat cycling.

Hope this thread helped shed some insight on how even "new" can quickly become a frustrating ordeal. Had I not torn this engine down, I about guarantee I would have had a b!tch of a time with tuning, and probably a blown crank and not known why.


. Trust me there won't be nothing left but shards of aluminum... But for now it's a good learning experience and only cost me $12 in gaskets and seals.