

pipeous
Well-Known Member
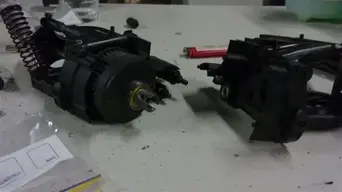
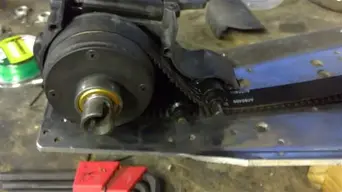
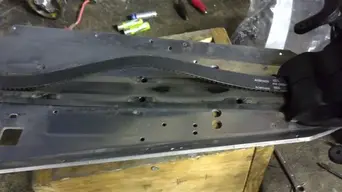
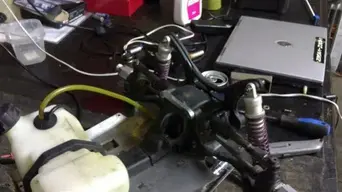
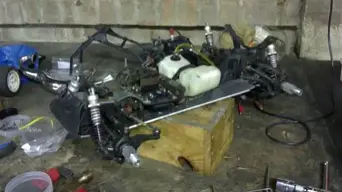
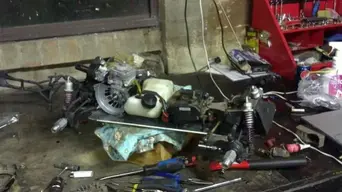
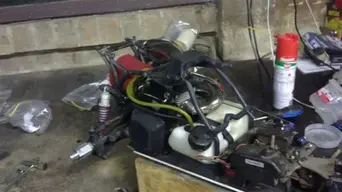
good show. I pick up my baja tonight. can't wait to start ripping into it. I remember something about having to plug some hole to the belt drive... did you do that Sohan?
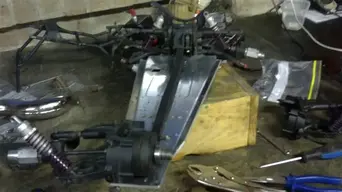
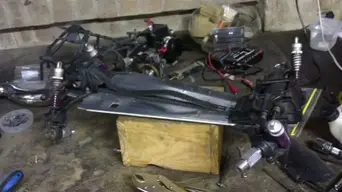
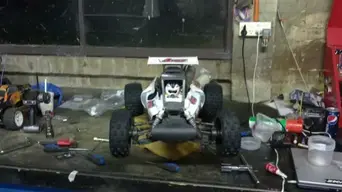
upgrades for me will have to wait until the end of the month, though it allready has front brakes. comes with a 5755 for steering. the 645 on throttle is coming out, I have 2 5645's to pop in, and a new kill sitch to test (they'll be for sale after we finish testing them, the aluminum case they come in is very sweet looking). I probably won't get much runtime before the new year anyway. it's friggin monsoon season here. I have to leave for work, and I got so wet yesterday I am dreading it
upgrades for me will have to wait until the end of the month, though it allready has front brakes. comes with a 5755 for steering. the 645 on throttle is coming out, I have 2 5645's to pop in, and a new kill sitch to test (they'll be for sale after we finish testing them, the aluminum case they come in is very sweet looking). I probably won't get much runtime before the new year anyway. it's friggin monsoon season here. I have to leave for work, and I got so wet yesterday I am dreading it


") but I just redid my downstairs flooring. finished 10pm last night. so buying anything has to wait until end of the month. had to put a lot of it on the credit card. man I don't even want to work today. how do people do flooring everyday for a living? my back and knees are done
but I just redid my downstairs flooring. finished 10pm last night. so buying anything has to wait until end of the month. had to put a lot of it on the credit card. man I don't even want to work today. how do people do flooring everyday for a living? my back and knees are done