


phreerider
Senior Member
- Messages
- 1,110
- Reaction score
- 4
heres a shot of mine , basic brass hardware nipple and hose (that you already have ) and on the other end a fuel filter its the screen type
leave the rubber dome and seal inside the cap for splash cover just be sure its open.
you can use solvent tolerant sealer around the nipple but i did not .
drill slightly smaller hole than nipple choice. has to be self tapping tight fit into plastic, don't over tighten. the tubing and filter should be secured to form a loop down toward bottom of tank somewhere, it will spit out a little fuel from time to time. leave enough slack to allow for cap placement and removal, the twist thing you can figure out . when in place ,the tubing should not pinch itself closed after tighten cap...and looks like
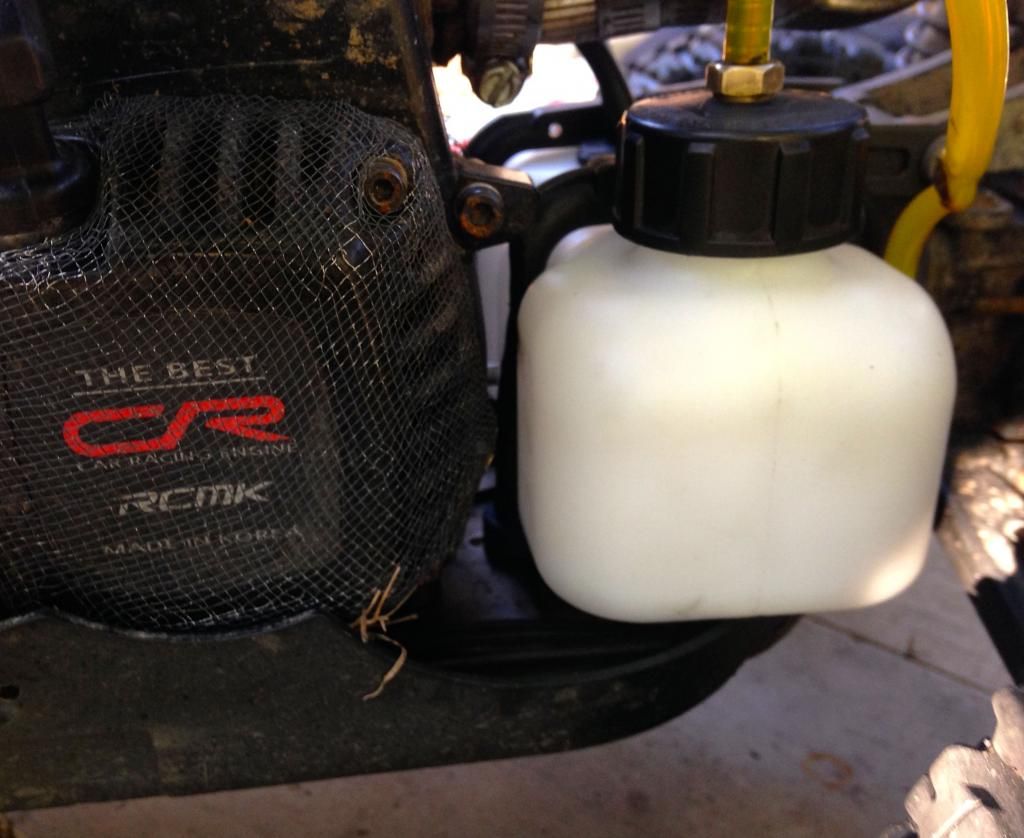
leave the rubber dome and seal inside the cap for splash cover just be sure its open.
you can use solvent tolerant sealer around the nipple but i did not .
drill slightly smaller hole than nipple choice. has to be self tapping tight fit into plastic, don't over tighten. the tubing and filter should be secured to form a loop down toward bottom of tank somewhere, it will spit out a little fuel from time to time. leave enough slack to allow for cap placement and removal, the twist thing you can figure out . when in place ,the tubing should not pinch itself closed after tighten cap...and looks like


 ), which is something I'm not ok having. For the moment I just reverted to stock and, if/when venting problems appear I'll probably add the snappy valve directly to the tank cap.


 ) Tilting the car so the fuel was getting further from the grommet would cause it to function correctly. I don't know, I just can't live with "you can't fill the tank anymore", I rather just do a little DIY and get it done properly. Makes me wonder why they didn't just make this kit consist of a new cap with a vent in it, would have been so much better and so much easier to install.


