Trip
Well-Known Member
- Messages
- 2,682
- Location
- Ypsilanti Michigan U.S.
A carb swap is a very simple procedure, but there may be a few new forum members that are afraid to tackle this. Us old timers will find this as old hat, but hey who knows, maybe this might show you something. So for anyone that wants a walk through, here you go...
List of things you will need.
Make sure everything is clean, I cannot emphasize this enough, you are dealing with the most direct inlet to your motor, so make sure it's clean!
The first thing I like to do is to remove the throttle linkage from the carb, just remove this screw and the linkage will come off and ease reassembly. Hold the throttle arm with your fingers, don't allow the arm to swing, this can hurt the throttle shaft.
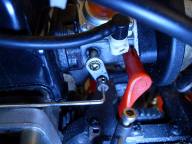
Remove the throttle arm.
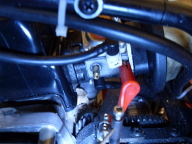
Next remove the rear air filter by removing the center screw.
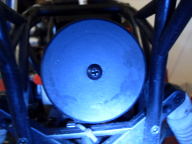
You should have something that looks like this.
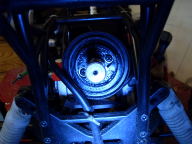
Next remove the fuel lines and take note of their positions. I am doing this on a clone (Mutilator, Smartech, Firehammer, Carson all clones) so if you have an FG your fuel lines will be different colors, it doesn't matter it's the same, the bottom line is the feed and the upper line is the return.
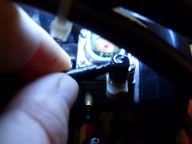
Next, remove these two screws to remove the air filter assembly. This will also allow for removal of the carburetor. This is where that quality screwdriver is needed, make sure you don't strip the head off the screws. Take your time doing this and take care not to rip the gasket.
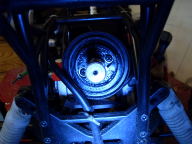
Like this.
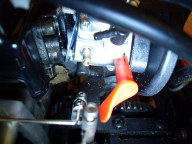
Set the carb assy off to the side for now.
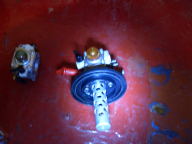
You could continue on and remove the intake manifold by removing these 2 bolts, but I didn't I am just doing a carb swap. So wipe the mounting surface with a rag in an outward movement to minimize the chance of debris falling into the intake.
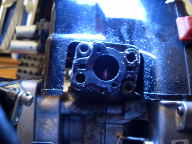
This is a good time to remove any debris that you can't reach with the carb attached. DO NOT use compressed air, your motor is open. Use your needle nose.
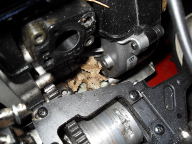
As you can see my gasket survived the removal process so I am going to reuse it.
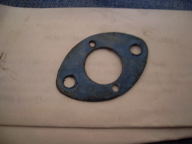
If doing a swap be sure to remove the aluminum spacer.
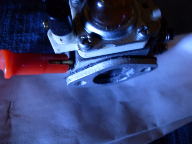
You can remove it like this. Again being careful not to damage the gaskets.
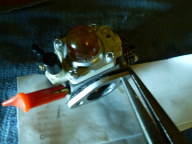
Time to sand off the old gasket material.
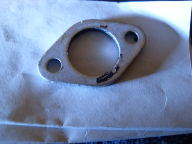
This is good enough, as long as it's smooth to the touch it should be fine.
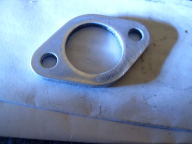
Time for reassembly:
Install a new or cleaned used gasket on the inlet side of the carb.
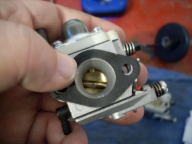
Reinstall the aluminum spacer
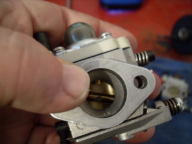
Clean the airfilter assembly and stick the two long screws back through the carb body.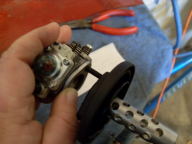
Spin the carb around so the outlet is facing you and put on a new or cleaned intake gasket, use the screws to align the gasket.
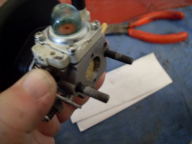
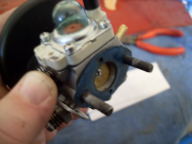
Reattach the carb and airfilter assy back onto the intake manifold (carb isolator) This is another place where a quality screwdriver is mandatory, you need to crank those screws in there very tightly!
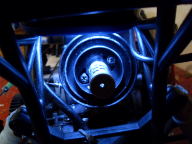
Reattach your upper and lower fuel lines, you remember which one is which right? If not, remember the lower fuel line is the feed, so it will have the fuel filter on the end inside the fuel tank.
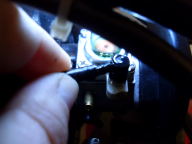
I use needle nose pliers to attach the lower fuel line, because it's difficult to reach otherwise.
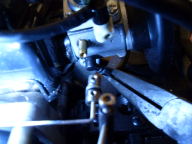
Make sure it is seated fully. A keen eye will notice there is no choke lever, that's because I am swapping over to a 813 carb, it is chokeless.
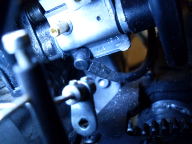
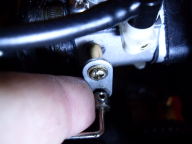
Reattach your throttle arm, but before you crank down the screw, stick your finger in between the arm and the head, that way when you tighten the screw your not grinding against the throttle stop and potentially damaging something.
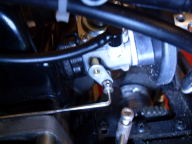
Check your throttle action/movement with your control to be sure everything is golden.
That's it, your done! It took all of about 10 minutes didn't it. It took me only about 8 minutes and that was taking pictures. Although this write-up took well over an hour to upload pics and edit everything.
I hope you learned something and had fun along the way, these motors are super simple to work on, so don't be afraid, get in there and get dirty!
Trip..
List of things you will need.
- A large scale vehicle with a carburetor.
- Make sure the vehicle is extremely clean around the carb.
- A good Phillips screwdriver, don't cheap out. Use quality tools. I am using a Snap On ratcheting screwdriver.
- A set of needle nose pliers.
- Sandpaper, I like to use 230 or finer.
- A bright light, I bought mine from Harbor Freight for 5 bucks.
- A new set of gaskets in case you rip one.
- About 10 minutes of your time.
Make sure everything is clean, I cannot emphasize this enough, you are dealing with the most direct inlet to your motor, so make sure it's clean!
The first thing I like to do is to remove the throttle linkage from the carb, just remove this screw and the linkage will come off and ease reassembly. Hold the throttle arm with your fingers, don't allow the arm to swing, this can hurt the throttle shaft.

Remove the throttle arm.

Next remove the rear air filter by removing the center screw.

You should have something that looks like this.

Next remove the fuel lines and take note of their positions. I am doing this on a clone (Mutilator, Smartech, Firehammer, Carson all clones) so if you have an FG your fuel lines will be different colors, it doesn't matter it's the same, the bottom line is the feed and the upper line is the return.

Next, remove these two screws to remove the air filter assembly. This will also allow for removal of the carburetor. This is where that quality screwdriver is needed, make sure you don't strip the head off the screws. Take your time doing this and take care not to rip the gasket.

Like this.

Set the carb assy off to the side for now.

You could continue on and remove the intake manifold by removing these 2 bolts, but I didn't I am just doing a carb swap. So wipe the mounting surface with a rag in an outward movement to minimize the chance of debris falling into the intake.

This is a good time to remove any debris that you can't reach with the carb attached. DO NOT use compressed air, your motor is open. Use your needle nose.

As you can see my gasket survived the removal process so I am going to reuse it.

If doing a swap be sure to remove the aluminum spacer.

You can remove it like this. Again being careful not to damage the gaskets.

Time to sand off the old gasket material.

This is good enough, as long as it's smooth to the touch it should be fine.

Time for reassembly:
Install a new or cleaned used gasket on the inlet side of the carb.

Reinstall the aluminum spacer

Clean the airfilter assembly and stick the two long screws back through the carb body.

Spin the carb around so the outlet is facing you and put on a new or cleaned intake gasket, use the screws to align the gasket.


Reattach the carb and airfilter assy back onto the intake manifold (carb isolator) This is another place where a quality screwdriver is mandatory, you need to crank those screws in there very tightly!

Reattach your upper and lower fuel lines, you remember which one is which right? If not, remember the lower fuel line is the feed, so it will have the fuel filter on the end inside the fuel tank.

I use needle nose pliers to attach the lower fuel line, because it's difficult to reach otherwise.

Make sure it is seated fully. A keen eye will notice there is no choke lever, that's because I am swapping over to a 813 carb, it is chokeless.

Reattach your throttle arm, but before you crank down the screw, stick your finger in between the arm and the head, that way when you tighten the screw your not grinding against the throttle stop and potentially damaging something.


Check your throttle action/movement with your control to be sure everything is golden.
That's it, your done! It took all of about 10 minutes didn't it. It took me only about 8 minutes and that was taking pictures. Although this write-up took well over an hour to upload pics and edit everything.
I hope you learned something and had fun along the way, these motors are super simple to work on, so don't be afraid, get in there and get dirty!
Trip..
Last edited:

