- Messages
- 7,733
- Location
- Minnesota
This is a Pre-Review of the KM Baja KSRC-001. My son received a KM Baja and pipe for Christmas and since it was winter we thought we would tear it down and see what items we feel are good and bad points of the model and try to change the bad. Now this KM Baja was purchased from eBay and is a clearance of older stock. Although we compare different points to HPI Baja parts this review is not a comparison and this should strictly be used as a KM Baja review and not to be mixed in any way with the HPI Baja. With that said I’m sure we all know what I’m talking about.
We removed the stock radio gear and the servos. We like our prefered electronics and do not like ANY RTR radio equipment and my son likes his spectrum with the PRO receiver. We/I am very picky with what we like too. I can say that you will not be able to swap out your steering servo with any other type of servo then the KM one, unless you buy an HPI case set and swap out the servo holder with an HPI one. The KM steering servo is rounded on the sides and slightly smaller then HPI’s. They have made a different servo holder especially for there KM servo. Therefore we cannot give you any info on the radio gear that was supplied. We will also be buying a failsafe for all but one of our models before running next summer.
We noticed that the box did not include any oils or any extra parts. Just tools and an extra filter.
We tore the KM buggy down completely from the transmission, shocks, plastic and metal supports, electronics and tires. Although we tore the motor down we did not remove the head or separate the crank case. We did however inspect these items the best we could from the exterior. Man I thought he was in heaven pulling it all apart. Putting it back together that was the struggle, he was about 10% there.
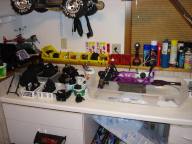
We noticed that the shocks in there stock form did not want to work properly. They seemed real stiff and sticky. The adjustment nuts were set to there tightest setting. Here is a video of the stock shock working without the springs.
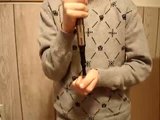
We opened the shocks to find a couple were low on shock oil. We also found the shock oil to be like 45-55 weight oil. We did change that to 20w non-hobby shock oil all the way around.
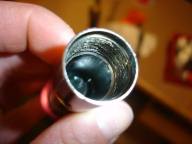
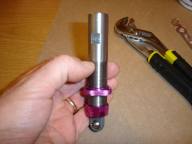
The shock plunger has two holes. One of the shocks was assembled without the C clip that keeps the shock plunger from bottoming out. We installed one. We noticed that the plunger is set on the shaft so that it cannot pass by and run the full length of the shaft, so the only difference would be the shock plunger could completely bottom out. We noticed on one other shock that the O-ring was not set correctly. We corrected it.
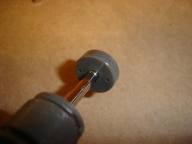
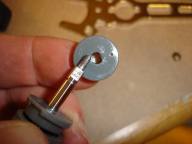
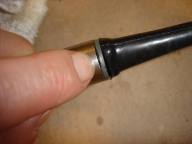
We also noticed that the end cap does not have a bleeder line run through the plastic to bleed the shocks. The seal inside was also not inserted completely into the end cap. We needed to repress the seal and push the cap back down to refit the keeper lid.
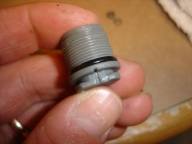
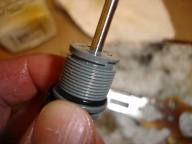
After disassembling the end cap we found that the seal was created with three rings in a one piece grommet.
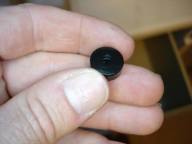
The shaft boots are thicker, stiffer and darker. Not sure stiffer is better? Although they may take more punishment they also may interfere with how the shock moves up and down.
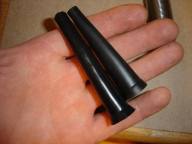
After rebuilding the shocks and changing out the oil we now have shocks that seem to perform. Here is a comparison video.
The filter looks to be not the best filter on its own. Although it may perform well I would recommend using a Redneck filter over the stock or switching it out to a HPI inner filter and Redneck. The filters are not oiled and it is a must to check that before running. Here you can see HPI’s and KM’s next to each other just to have something to compare too. The rubber o-ring was not lubed which we installed some lubrication too when we reinstalled.
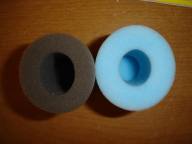
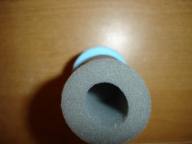
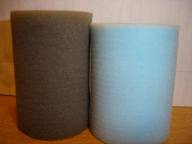
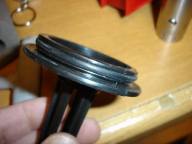
Here you can see the width difference.
Slightly too small:
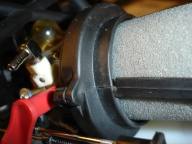
Just right:
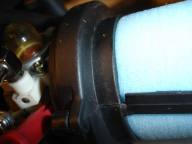
Differences in sizes. HPI on left, KM on right.
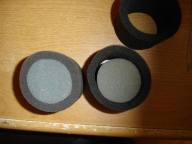
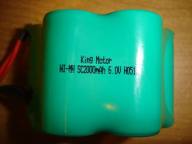
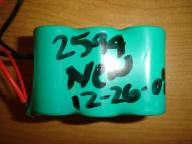
The stock battery seems to be a good match. It’s a 2000NiMh battery that held 2594 after charging.
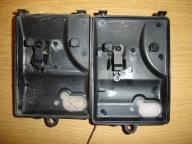
The radio box is slightly larger then the HPI and that makes the tank slightly different as well. The Km does not have an extra hole drilled in the bottom of the chassis and the pin on the bottom of the box has been removed.
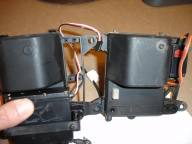
The front steering had a bit more play then we wanted. We installed a couple of rubber washers to the shafts. O-rings could also be used. Here is a video of the play.
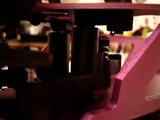
And after we installed the rubber rings.
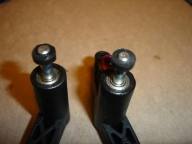
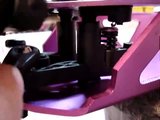
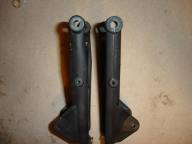
The front upper arms are slightly different from HPI’s by changing the upper support cross shaft horizontal instead of vertical. KM on right.
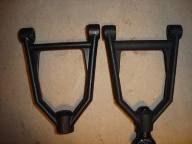
The front lower arm is different in that the middle and center area is thinner.
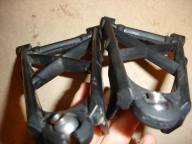
The rear lower arm is different in the front facing side is thicker and they use a nut on the back side of the shock screw.
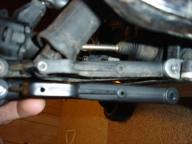
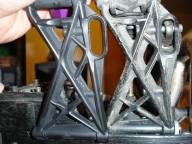
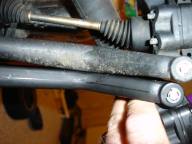
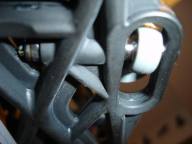
The rear upper arm is the same dimensions.
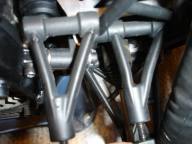
The rear shock support has a metal plug installed to reduce the chance of back out.
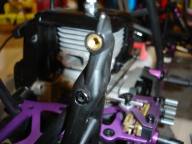
The front steering shafts are made of steel not aluminum.
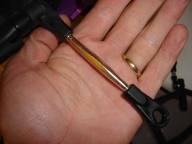
The drive shafts are slightly different. They lack the plastic end.
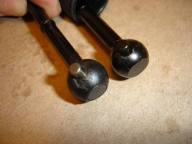
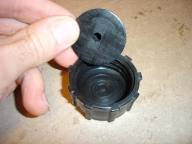
The gas cap has a rubber fitting with a slice in it to vent the tank.
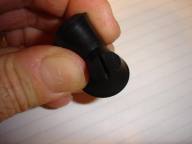
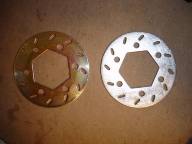
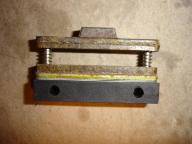
We roughed up the brake disks and installed the pen springs in the brake pads. We also removed the spring for the brake rod and installed Tygon fuel line instead.
The gear cover was slightly over sized. It stays in place it just could have been tighter.
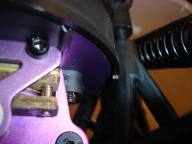
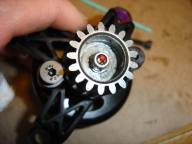
Spur gear.
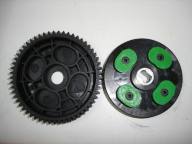
The pinion gear was installed with two types of lock washers. We removed the set up and reversed the pinion bolt and installed a lock washer using locktight. We noticed the bell is slightly off center.
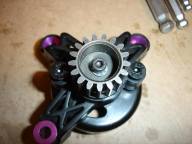
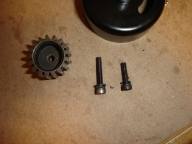
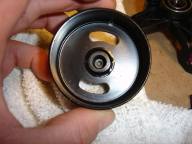
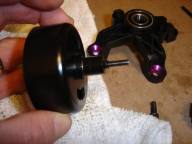
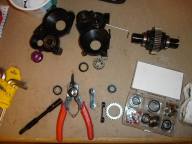
We tore into the differential and found everything to be ok. We checked the differential fluid and all was ok. We did install the infamous missing bearing.
The KM motor has the clutch part of the crank case. We ended up putting the screen modification on also.
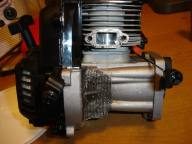
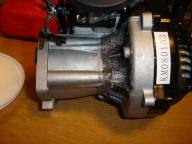
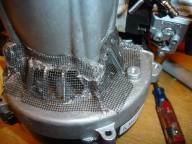
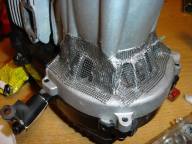
We also added the red HPI spring to the clutch. We needed to slightly drill out the spring holes larger for it to accept the new thicker spring. Oh, and reversed the shoes.
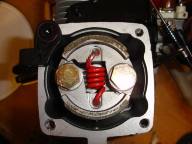
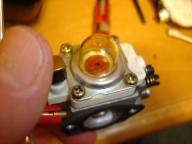
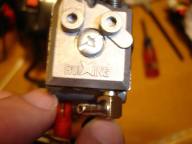
We removed the carb and checked through the exhaust and intake holes and found that the ports must not have been smoothed like they should of by the manufacture. The motor was run prior to it being shipped by the manufacture and we found that the piston was scratched slightly during this process probably when the piston smoothed out the ports. I have seen this before on lower priced motors.
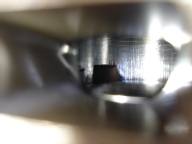
We did notice a strange ring like shaping on the inside of the head which I think is from manufacturing.
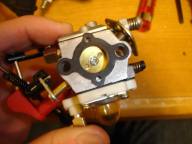
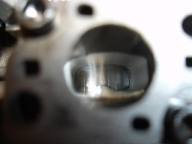
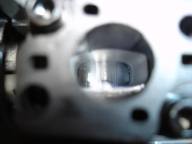
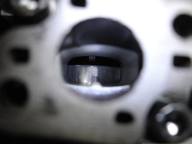
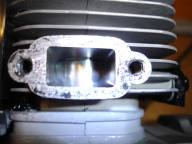
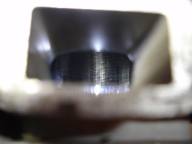
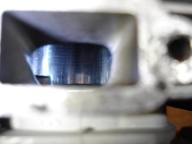
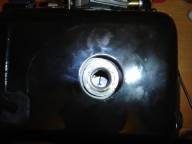
The piston top has an interesting smooth flat spot on top with an “I” engraved.
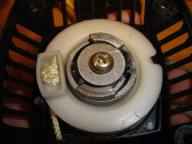
The pull start already had an alloy pawl installed.
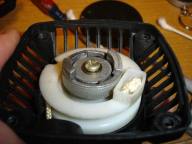
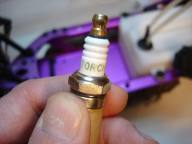
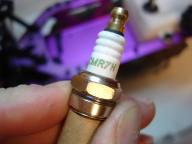
Interesting spark plug? Made by TORCH.
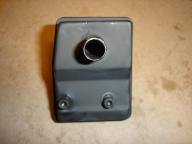
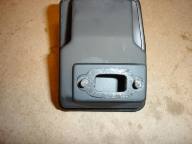
The stock can is interesting. They did not use a screen and insulation. They installed a piece of metal sheet down the center of the can and drilled three holed in line with the exhaust tube and another three above that.
Black rear tire foams. We installed the tape modification.
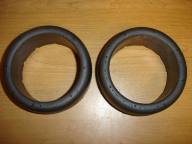
First generation type without the ring but second rim design. We ended up making our own rings and epoxy them on.
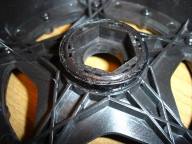
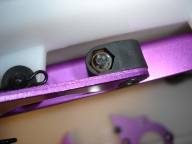
I tearing it apart and reassembling we found there to be quite a bit of rust on the nuts used.
In looks, this looks to be a good inexpensive model. It has its cheap areas and I would not just buy it, put gas in, and go. Take your time, tear it down, and inspect it and your good to go.
My son will be supplying me with the info this spring for a test drive review. :lol:
We removed the stock radio gear and the servos. We like our prefered electronics and do not like ANY RTR radio equipment and my son likes his spectrum with the PRO receiver. We/I am very picky with what we like too. I can say that you will not be able to swap out your steering servo with any other type of servo then the KM one, unless you buy an HPI case set and swap out the servo holder with an HPI one. The KM steering servo is rounded on the sides and slightly smaller then HPI’s. They have made a different servo holder especially for there KM servo. Therefore we cannot give you any info on the radio gear that was supplied. We will also be buying a failsafe for all but one of our models before running next summer.
We noticed that the box did not include any oils or any extra parts. Just tools and an extra filter.
We tore the KM buggy down completely from the transmission, shocks, plastic and metal supports, electronics and tires. Although we tore the motor down we did not remove the head or separate the crank case. We did however inspect these items the best we could from the exterior. Man I thought he was in heaven pulling it all apart. Putting it back together that was the struggle, he was about 10% there.

We noticed that the shocks in there stock form did not want to work properly. They seemed real stiff and sticky. The adjustment nuts were set to there tightest setting. Here is a video of the stock shock working without the springs.

We opened the shocks to find a couple were low on shock oil. We also found the shock oil to be like 45-55 weight oil. We did change that to 20w non-hobby shock oil all the way around.


The shock plunger has two holes. One of the shocks was assembled without the C clip that keeps the shock plunger from bottoming out. We installed one. We noticed that the plunger is set on the shaft so that it cannot pass by and run the full length of the shaft, so the only difference would be the shock plunger could completely bottom out. We noticed on one other shock that the O-ring was not set correctly. We corrected it.


We also noticed that the end cap does not have a bleeder line run through the plastic to bleed the shocks. The seal inside was also not inserted completely into the end cap. We needed to repress the seal and push the cap back down to refit the keeper lid.


After disassembling the end cap we found that the seal was created with three rings in a one piece grommet.

The shaft boots are thicker, stiffer and darker. Not sure stiffer is better? Although they may take more punishment they also may interfere with how the shock moves up and down.

After rebuilding the shocks and changing out the oil we now have shocks that seem to perform. Here is a comparison video.

The filter looks to be not the best filter on its own. Although it may perform well I would recommend using a Redneck filter over the stock or switching it out to a HPI inner filter and Redneck. The filters are not oiled and it is a must to check that before running. Here you can see HPI’s and KM’s next to each other just to have something to compare too. The rubber o-ring was not lubed which we installed some lubrication too when we reinstalled.


Here you can see the width difference.
Slightly too small:

Just right:

Differences in sizes. HPI on left, KM on right.

The stock battery seems to be a good match. It’s a 2000NiMh battery that held 2594 after charging.


The radio box is slightly larger then the HPI and that makes the tank slightly different as well. The Km does not have an extra hole drilled in the bottom of the chassis and the pin on the bottom of the box has been removed.


The front steering had a bit more play then we wanted. We installed a couple of rubber washers to the shafts. O-rings could also be used. Here is a video of the play.

And after we installed the rubber rings.


The front upper arms are slightly different from HPI’s by changing the upper support cross shaft horizontal instead of vertical. KM on right.

The front lower arm is different in that the middle and center area is thinner.


The rear lower arm is different in the front facing side is thicker and they use a nut on the back side of the shock screw.


The rear upper arm is the same dimensions.

The rear shock support has a metal plug installed to reduce the chance of back out.

The front steering shafts are made of steel not aluminum.

The drive shafts are slightly different. They lack the plastic end.

The gas cap has a rubber fitting with a slice in it to vent the tank.


We roughed up the brake disks and installed the pen springs in the brake pads. We also removed the spring for the brake rod and installed Tygon fuel line instead.


The gear cover was slightly over sized. It stays in place it just could have been tighter.

Spur gear.

The pinion gear was installed with two types of lock washers. We removed the set up and reversed the pinion bolt and installed a lock washer using locktight. We noticed the bell is slightly off center.


We tore into the differential and found everything to be ok. We checked the differential fluid and all was ok. We did install the infamous missing bearing.

The KM motor has the clutch part of the crank case. We ended up putting the screen modification on also.


We also added the red HPI spring to the clutch. We needed to slightly drill out the spring holes larger for it to accept the new thicker spring. Oh, and reversed the shoes.

We removed the carb and checked through the exhaust and intake holes and found that the ports must not have been smoothed like they should of by the manufacture. The motor was run prior to it being shipped by the manufacture and we found that the piston was scratched slightly during this process probably when the piston smoothed out the ports. I have seen this before on lower priced motors.
We did notice a strange ring like shaping on the inside of the head which I think is from manufacturing.


The piston top has an interesting smooth flat spot on top with an “I” engraved.

The pull start already had an alloy pawl installed.


Interesting spark plug? Made by TORCH.


The stock can is interesting. They did not use a screen and insulation. They installed a piece of metal sheet down the center of the can and drilled three holed in line with the exhaust tube and another three above that.


Black rear tire foams. We installed the tape modification.

First generation type without the ring but second rim design. We ended up making our own rings and epoxy them on.

I tearing it apart and reassembling we found there to be quite a bit of rust on the nuts used.

In looks, this looks to be a good inexpensive model. It has its cheap areas and I would not just buy it, put gas in, and go. Take your time, tear it down, and inspect it and your good to go.
My son will be supplying me with the info this spring for a test drive review. :lol:
Last edited:


