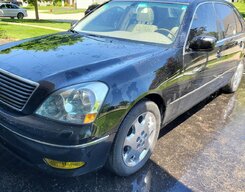
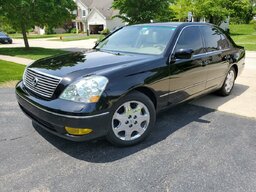
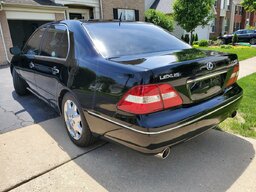
Zee's V.I.P Build 😎

This site may earn a commission from merchant affiliate
links, including eBay, Amazon, and others.
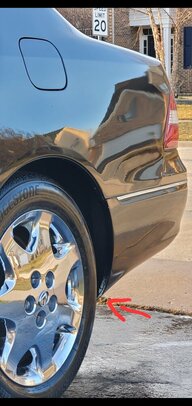
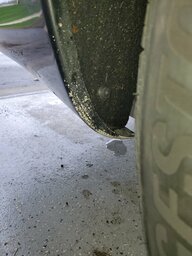
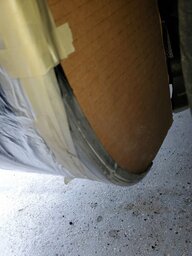
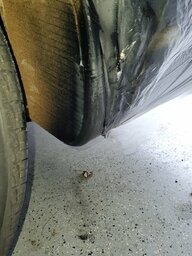
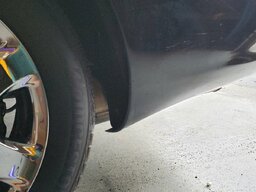
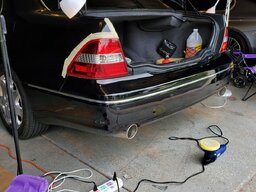
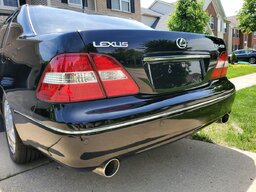
So on this car there has always been paint missing on the rear bumper. To be expected on a high milage car, but I wanted to fix it because I'm going to be correcting and coating the car as you know, so I'm gunna get the paint in as best shape as possible before hand. Plus it's really ugly it stood out like a sore thumb
Screenshot_20220430-203548_Gallery.jpg20220501_142548.jpg20220501_143459.jpg20220501_153638.jpg20220501_165340.jpg
Not done quite yet, I have to wet sand a little bit and compound but I need to wait for the clear to harden. But looks damn good if I do say so myself.
 
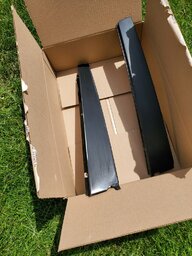
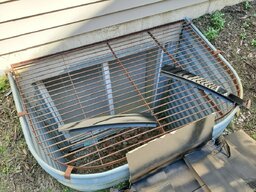
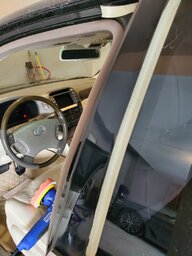
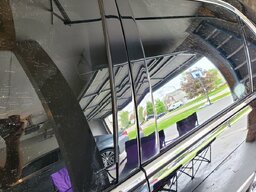
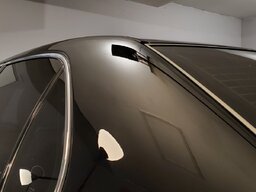
Fixed another ugly cosmetic issue today. On the B pillars they have gloss black trim and on mine the paint was chipped and ugly. So I repainted it.
Really impressed with it, especially for a rattle can. The steps I took was sanding, paint, wet sand, clear coat, wet sand, compound ,polish
20220514_140220.jpg20220514_151524.jpg20220515_122144.jpg20220515_124852.jpg

Still got more polishing left to do cuz the compound left alot of hazing (Normal) but it looks super good
Follow me on ig at 3u_zee if you want to see more indepth stuff 😉
 
Last edited:
Alright yall on Monday I started my paint correction. Still not done but I'll start posting some of the steps I am taking to achieve my results. Obviously, this is catered to my paint type and how fiddlesticked up it is. But generally this should apply to any other car. Starting with prep.
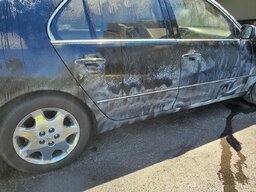
Before correction you want to do a physical and chemical decontamination which is what I did
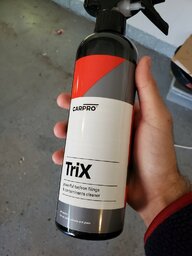
First I used Carpro Trix to remove any Tar and iron particles embedded into the paint. This product is decent but after using it I would just suggest a dedicated tar , Iron and (if you feel the need) bug remover.
20220523_111423.jpg
20220523_112419.jpg
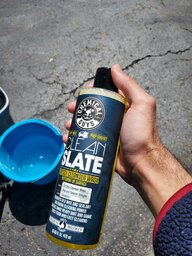
After that I washed the car with chemical guys strip wash (I'm not a big fan of most things chemical guys but this surprisingly worked) to remove any old wax and whatnot. This step isn't completely necessary, you can just wash with normal soap because you will be polishing. But I decided it might be best since my car probably has alot of old built up wax on it.
20220523_110930.jpg
20220523_112619.jpg
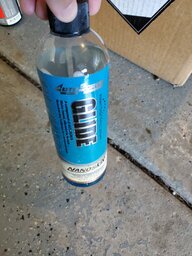
Then I proceeded to claybar the entire car using a heavy clay bar and nanoskin GLIDE as my clay lube (had it lying around from other projects, you can also just use car wash soap and some water in a spray bottle, or quick detailer spray) .
20220523_114110.jpg
Then just dried it off. You don't need to worry about getting it perfectly dry since you will be buffing it anyway . Just make sure the surface is perfectly clean
The most important thing throughout this process is prep, making sure everything is perfectly clean, and trying to minimize cross contamination (like mixing chemicals or putting poop right back onto/into your paint after you have just removed it)
 
So the second step is pretty much the longer and most work, especially if your paint is as trashed as mine.
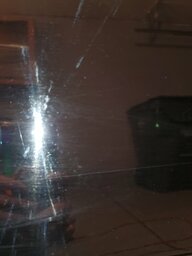
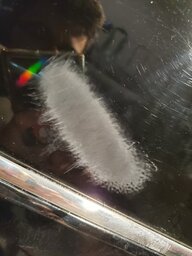
So for my car what I had to do was go with a heavy cut pad and a correcting compound (went with griots fast correcting cream) and went over the entire car with my 5 inch dual action polisher. Speaking of pad size, i wouldnt go larger then 5.5 inch. My 5 inch pad still had trouble reaching some areas. And you will not go any faster by using a bigger pad unless your correcting a fecking bus. Another thing is you want dual action vs a traditional rotary especially if your a beginner like myself because your far less likely to burn the clear with a da vs a rotary. After compound i then followed up with their Perfecting cream to polish it. Theres plenty of good videos on how to use a polisher correctly and whatnot so im not gunna get into that. It took well over 30 hours for me because I'm not a professional and i was taking my time, and my paint was destroyed. Honestly its about 80% all said and done. Mainly because the paint itself is just messed up and also I kinda wish I went slightly more aggressive on the pad and compound. But I'm happy with the results
Hood


20220523_141857.jpg
20220523_152846.jpg20220523_152246.jpg
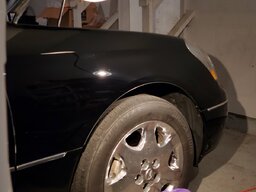
Left fender
20220523_152846.jpg20220523_193600.jpg20220524_160058.jpg
20220525_190201.jpg
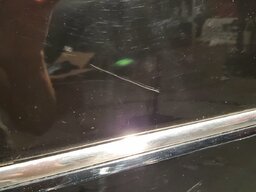
For heavy scratch removal, I wet sand with 1500, 2000, 3000, then compound.
A general rule of thumb though. If you can feel it with your finger nail it wont come out, its through the clear coat
20220526_110958.jpg
20220526_111542.jpg

20220526_131937.jpg
20220527_165653.jpg
Next step is ceramic coating
 
Last edited:
I worked on a 2021 740i the other week. Hammered in the nose and took out the driverside quarter. The finish from the shop was a perfect glass finish but the rest of the car was pitted with orange peel from the manufacturer.
 
So for the final step in the long process. Ceramic coating!
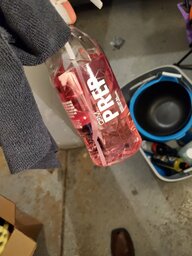
Before all that. I wiped down the car with gyeon q2m Prep to remove anyof the left over polishing residue or anything like that
20220527_192053.jpg
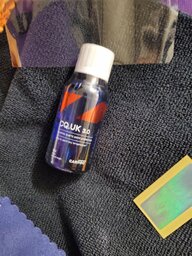
The ceramic coating I went with is Carpro Cquartz uk 3.0. A well renowned coating reccomended by many. There's plenty of other great coatings out there but I decided to go with cquartz cuz it's been around for a while and I've heard the most about it.
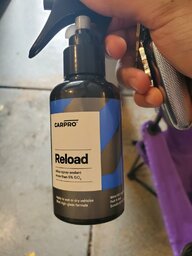
My impressions for the coating. Flash times are pretty quick (it was about 75 out and 80% humidity. Flash time Changes with both humidity and temp) , and wipe off is pretty easy. It's quite oilily so you have to follow up with a second wipe. But other then thay installation was really easy. Did one coat the day before,then about 16hes later I did the second. And 24 hrs after the second coat I followed up with my topper, carpro reload. Many toppers but this is what I have. Gunna experiment later .
20220527_192458.jpg
20220527_200129.jpg
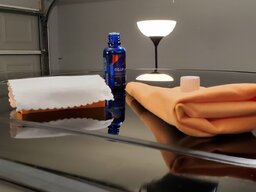
Whats included ,4x applicators, one wipe off towel (you'll need extras, you don't wanna do a wipe off on one panel and wipe whatever came off the first onto the next panel)
20220527_202209.jpg
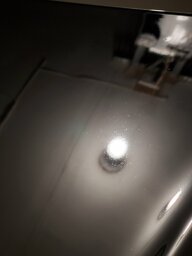
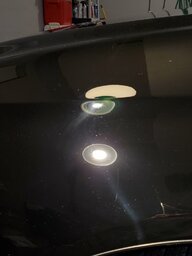
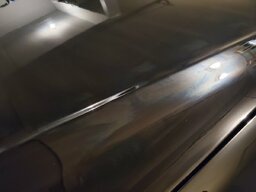
This is what it looks like when it flashes
20220528_142322.jpg
Kinda like an oil slick
Here's my topper
20220529_151535.jpg
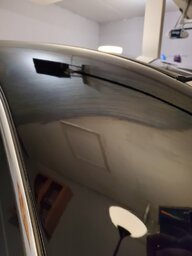
Final product
20220529_133401_001.jpg
20220529_133411.jpg
20220529_133415.jpg
 
Last edited:
Back
Top
AdBlock Detected

We get it, advertisements are annoying!

Sure, ad-blocking software does a great job at blocking ads, but it also blocks useful features of our website. For the best site experience please disable your AdBlocker.

I've Disabled AdBlock    No Thanks