My 5ive b build

This site may earn a commission from merchant affiliate
links, including eBay, Amazon, and others.

tanveer

Well-Known Member
Messages
67
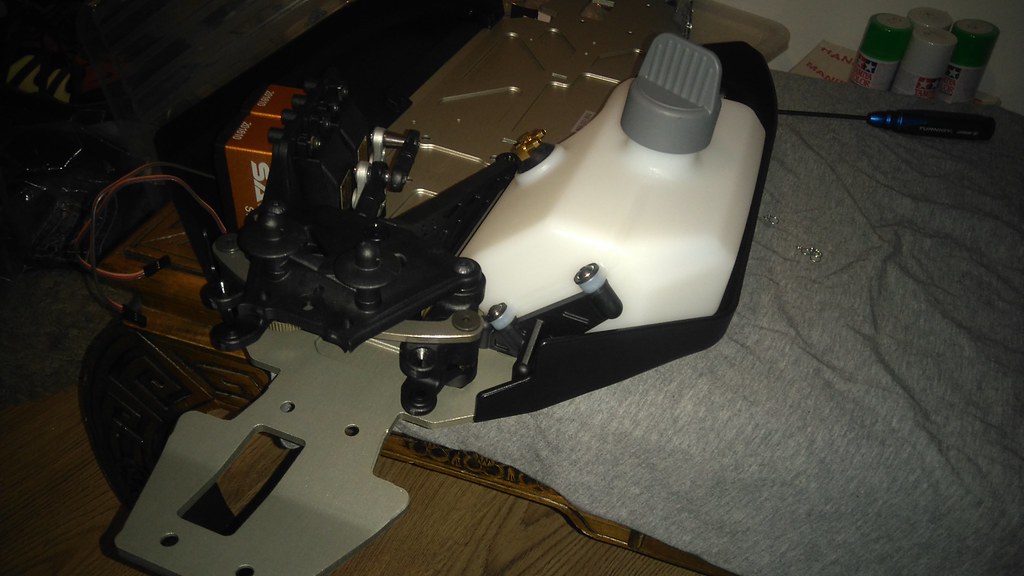
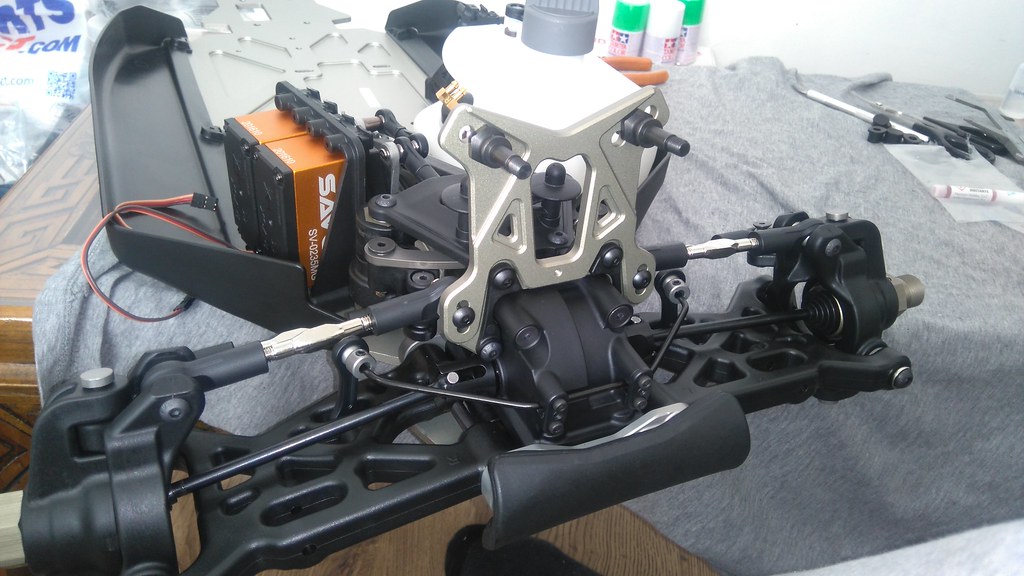
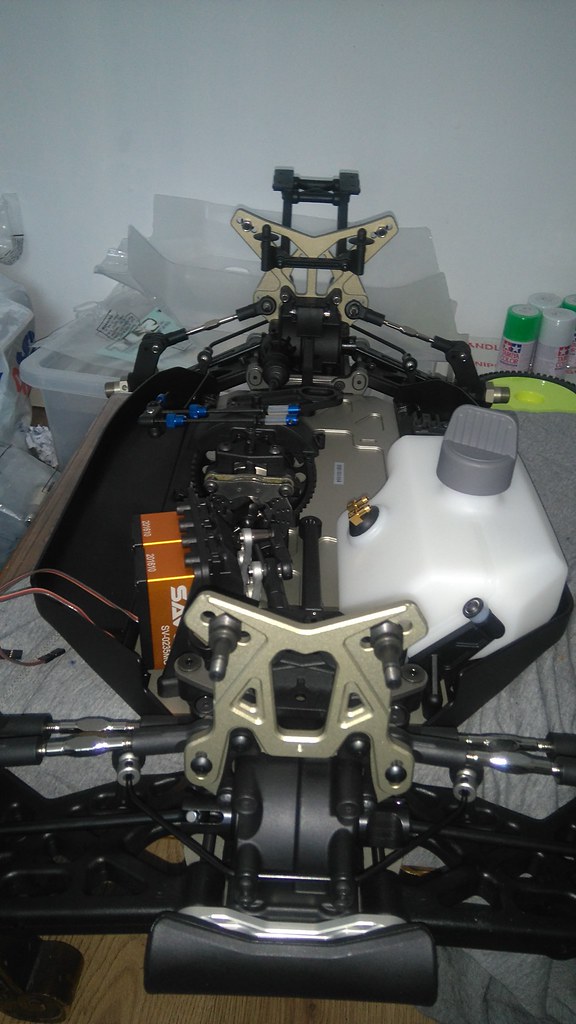
Decided to make a start on my 5b this evening, spent a couple of hours getting everything in bag A built. Its the first time iv ever installed dual steering servos so it took me a while to get them all set up correctly using the channel mixing function on my new 3pv radio. Will be spending most of tomorrow evening building again so should have some more updates then. Sorry about the lack of pics.

47406535142_baa5787cb9_b.jpg
 
Woke up this morning and thought i would spend a couple of hours on the build, Got most of the front end done and then spent another few hours this evening and iv got myself a rolling chassis! A pretty easy to build kit apart from a couple of small things along the way that where a bit more challenging than i had anticipated.

47467707111_ef6a20bf5e_b.jpg

47414778752_8aa1a5af68_b.jpg

47414775122_1f448fab56_b.jpg

47414773002_ae8aec404b_b.jpg


46744445124_21c8101caa_b.jpg

47414765112_5eafb05fc8_b.jpg

46744446454_b551e5ffdc_b.jpg

Kill switch and piston stopper should turn up tomorrow, so i can get the CY clutch housing and fan housing on the zen29 ready to get it installed.
 
Basically(y) done what are your plans the the body?

Iv made a mess of the body tbh, painted it in a rush and it looks terrible. Il upload some pics shortly. I think im going to buy a replacement proline body or a grafil one and get it painted by someone who knows what they are doing. I cant paint or mask a bodyshell to save my life, iv done loads and always make a mess of them. Im having one hell of a time gluing these tyres too, im going to give it another go tomorrow using some clamps around the tyres while they dry. Other than that the build has gone well its all running and has done 2 heat cycles so far.
 
I've found cleaning the wheels and tires with Simple Green helps in adhesion.

Iv cleaned the wheels and tyres with brake cleaner, which should have got rid of the release agents on the tyre. Im going to give it another go tomorrow. Iv glued my fingers together enough for one day lol
Couple of quick pics i took, i didnt manage to get many pics while i was getting the engine installed. I also installed the orange o rings what are supposed to go into the shock cap in the wrong place in the picture, i knew they where supposed to go into the shock cap but had a blank moment and got confused.

Iv done two heat cycles on the engine running it on a stand not letting it idle for long and giving it slow little revs, sounds absolutely epic with the un-silenced bartolone pipe. Literally just need to get the tyres glued up properly and its ready for the maiden run.

46758468394_7ba04fe0c5_b.jpg


47428955292_cfcd1780b5_b.jpg
 
Last edited:
Not a great job but not terrible :unsure: 
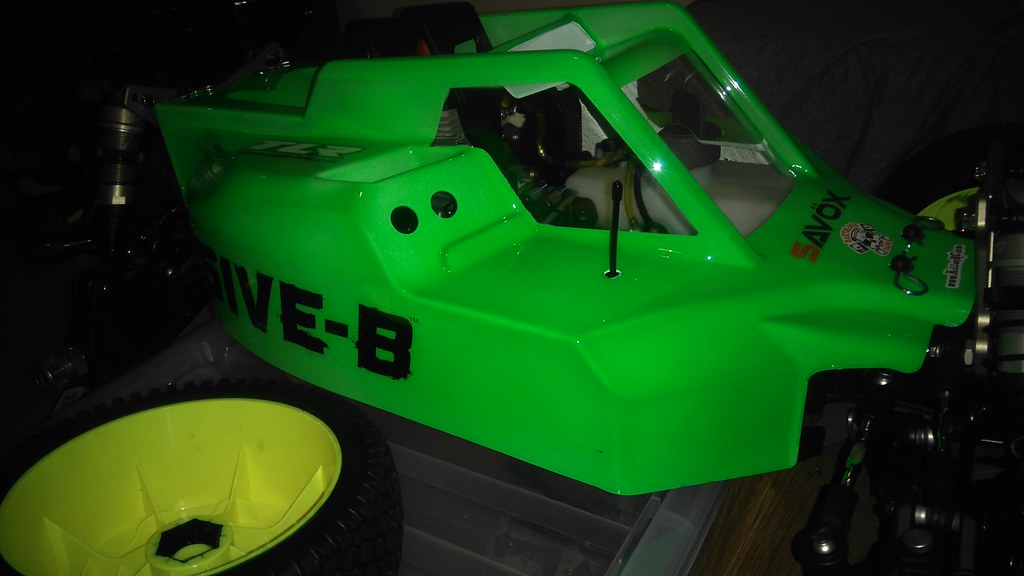
drive it first coz a body only stays nice if you don't drive your rig. Take it out dozen times then shell out for a one. Swop your fuel lines black feed yellow return(y)

Thanks for that buddy il get the lines swapped over, i wasnt too sure how they go as it doesn't mention it in the manual. Iv ordered a proline bodyshell but il keep it tucked away until my current one looks tired.
 
Back
Top
AdBlock Detected

We get it, advertisements are annoying!

Sure, ad-blocking software does a great job at blocking ads, but it also blocks useful features of our website. For the best site experience please disable your AdBlocker.

I've Disabled AdBlock    No Thanks